An easy bathroom remodel à la Paris

easy bathroom remodel cover photo

It’s that time of the year to kick home improvement into high gear!

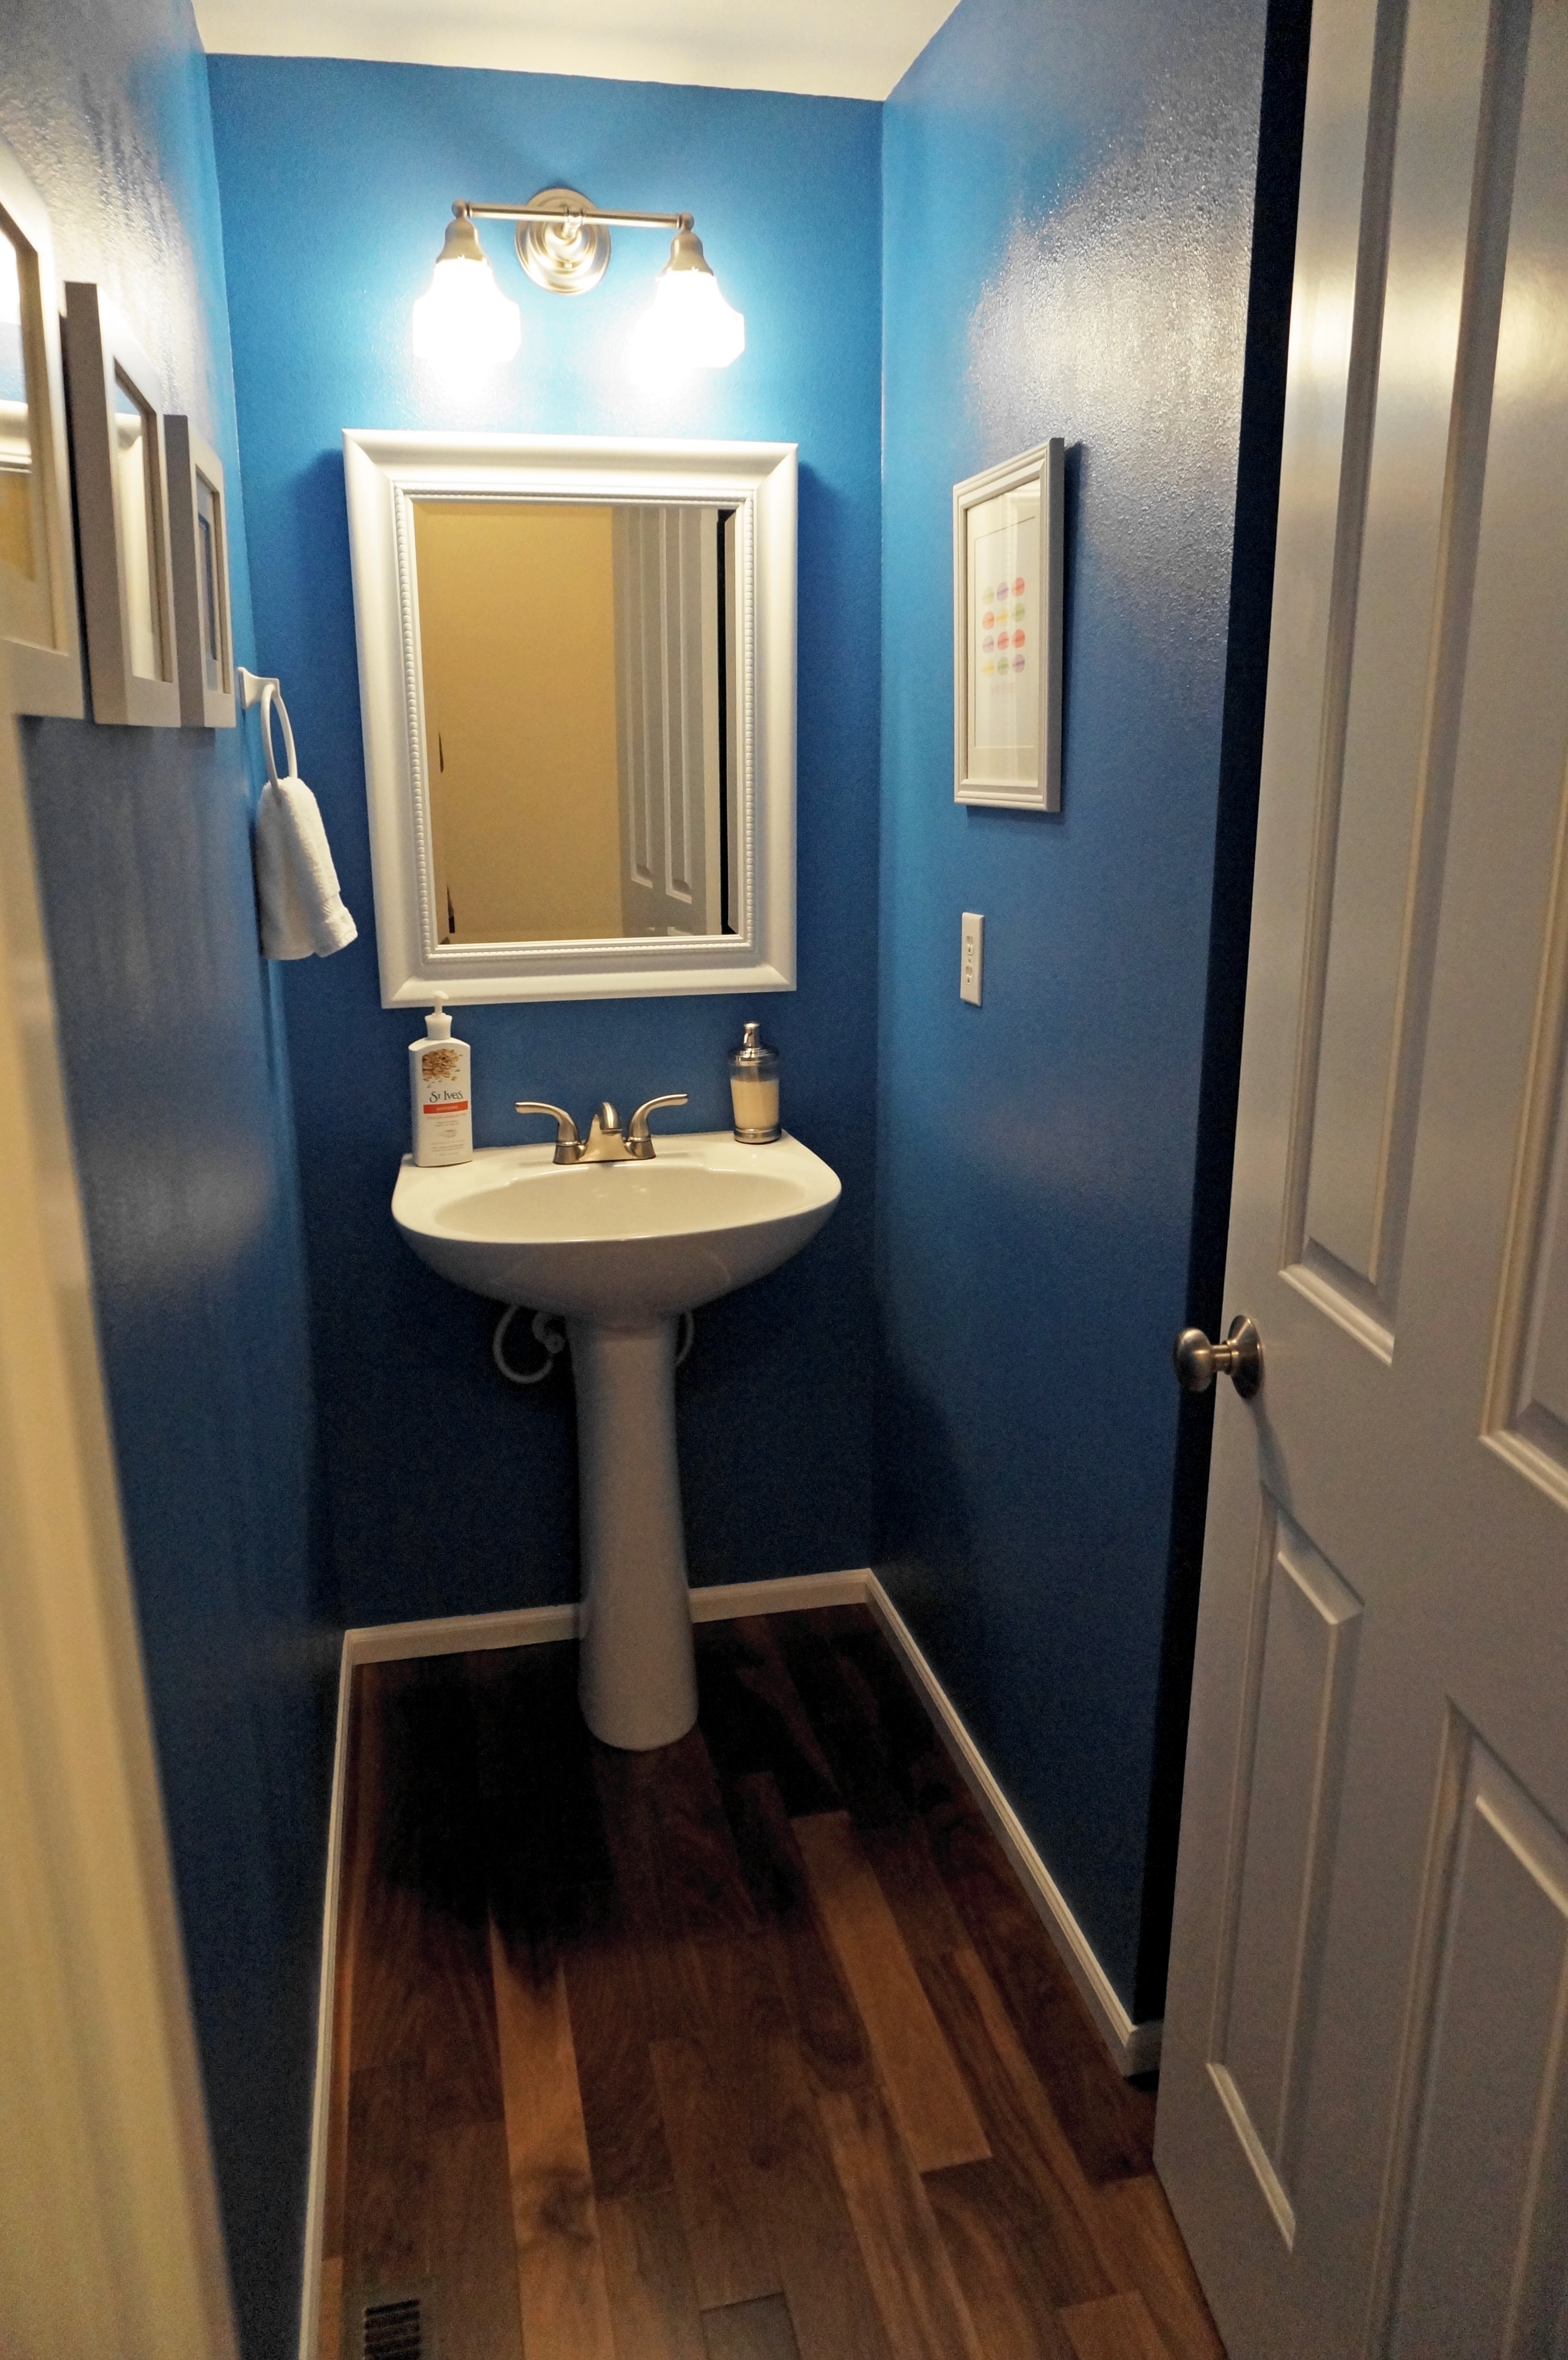
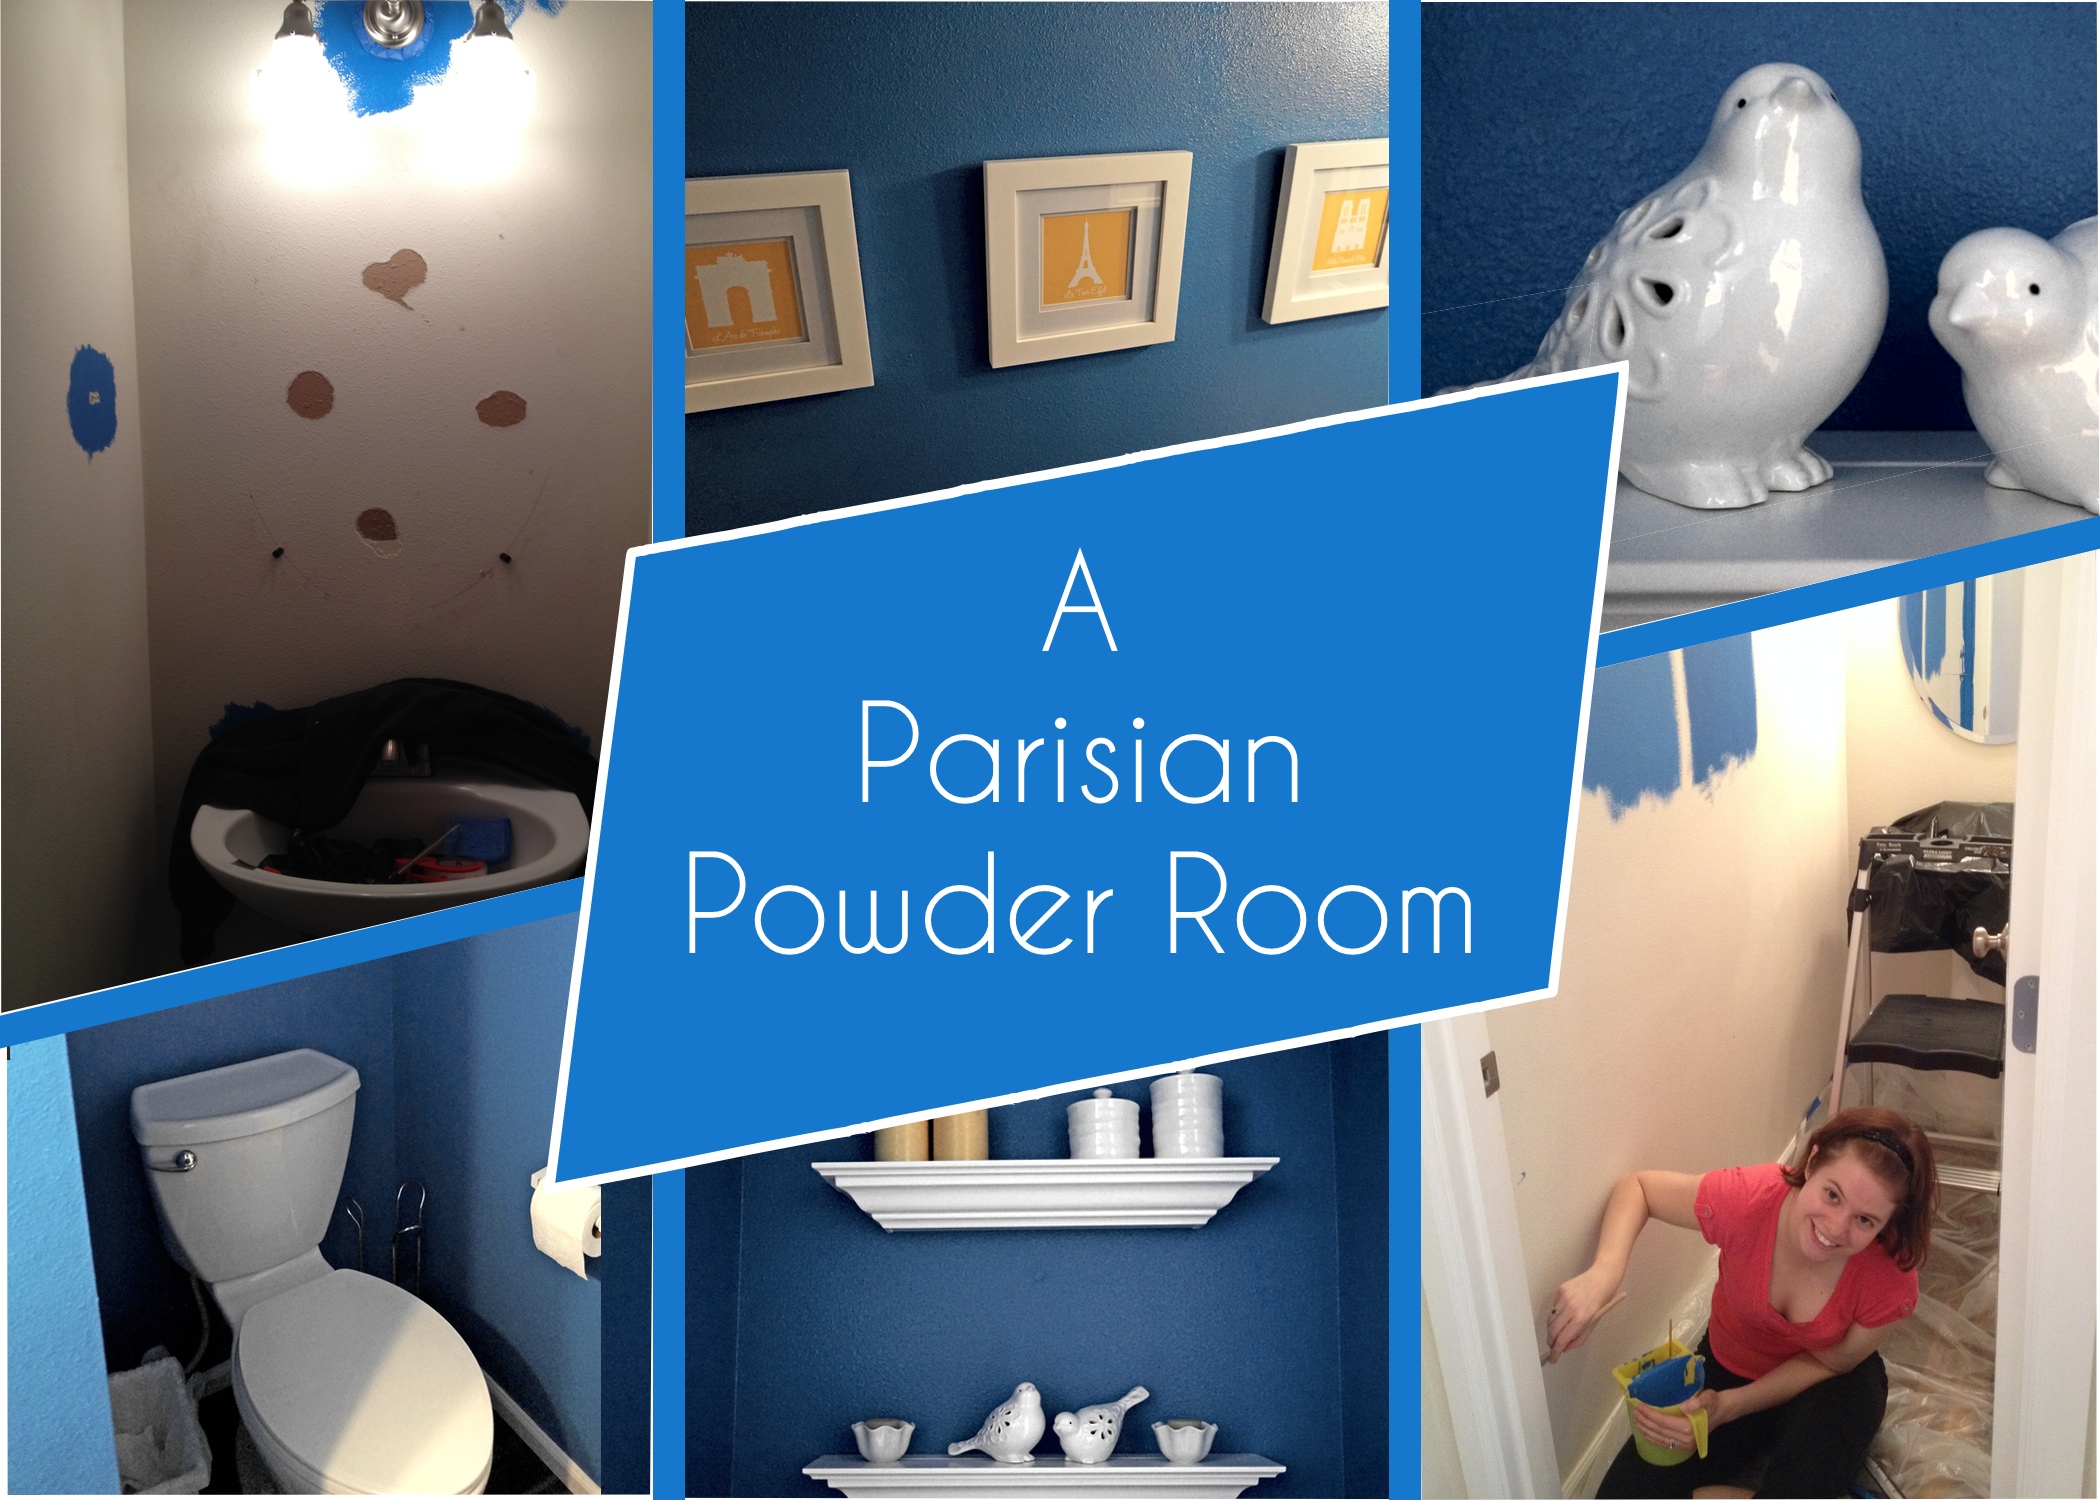
The downstairs powder room is the tiniest room in the house, and definitely not the most glamorous, but it’s one we, and our guests, often use. I decided it was time to take it from boo to blue! With a fresh coat of paint, and without ripping out the major fixtures, I think I turned this little bathroom into a little slice of luxe without a lot of $$$.

My Easy Bathroom Remodel: Getting Started

For the walls, I chose a bold blue color (Behr’s Royal Peacock). I’ve heard saturated colors can make a room feel too dark or too small. But seriously, let’s be honest, you’re in the bathroom and you know you’re in the bathroom. Who needs wide open spaces? Embrace that cozy feeling while you…you know…go!

Easy bathroom remodel before photo

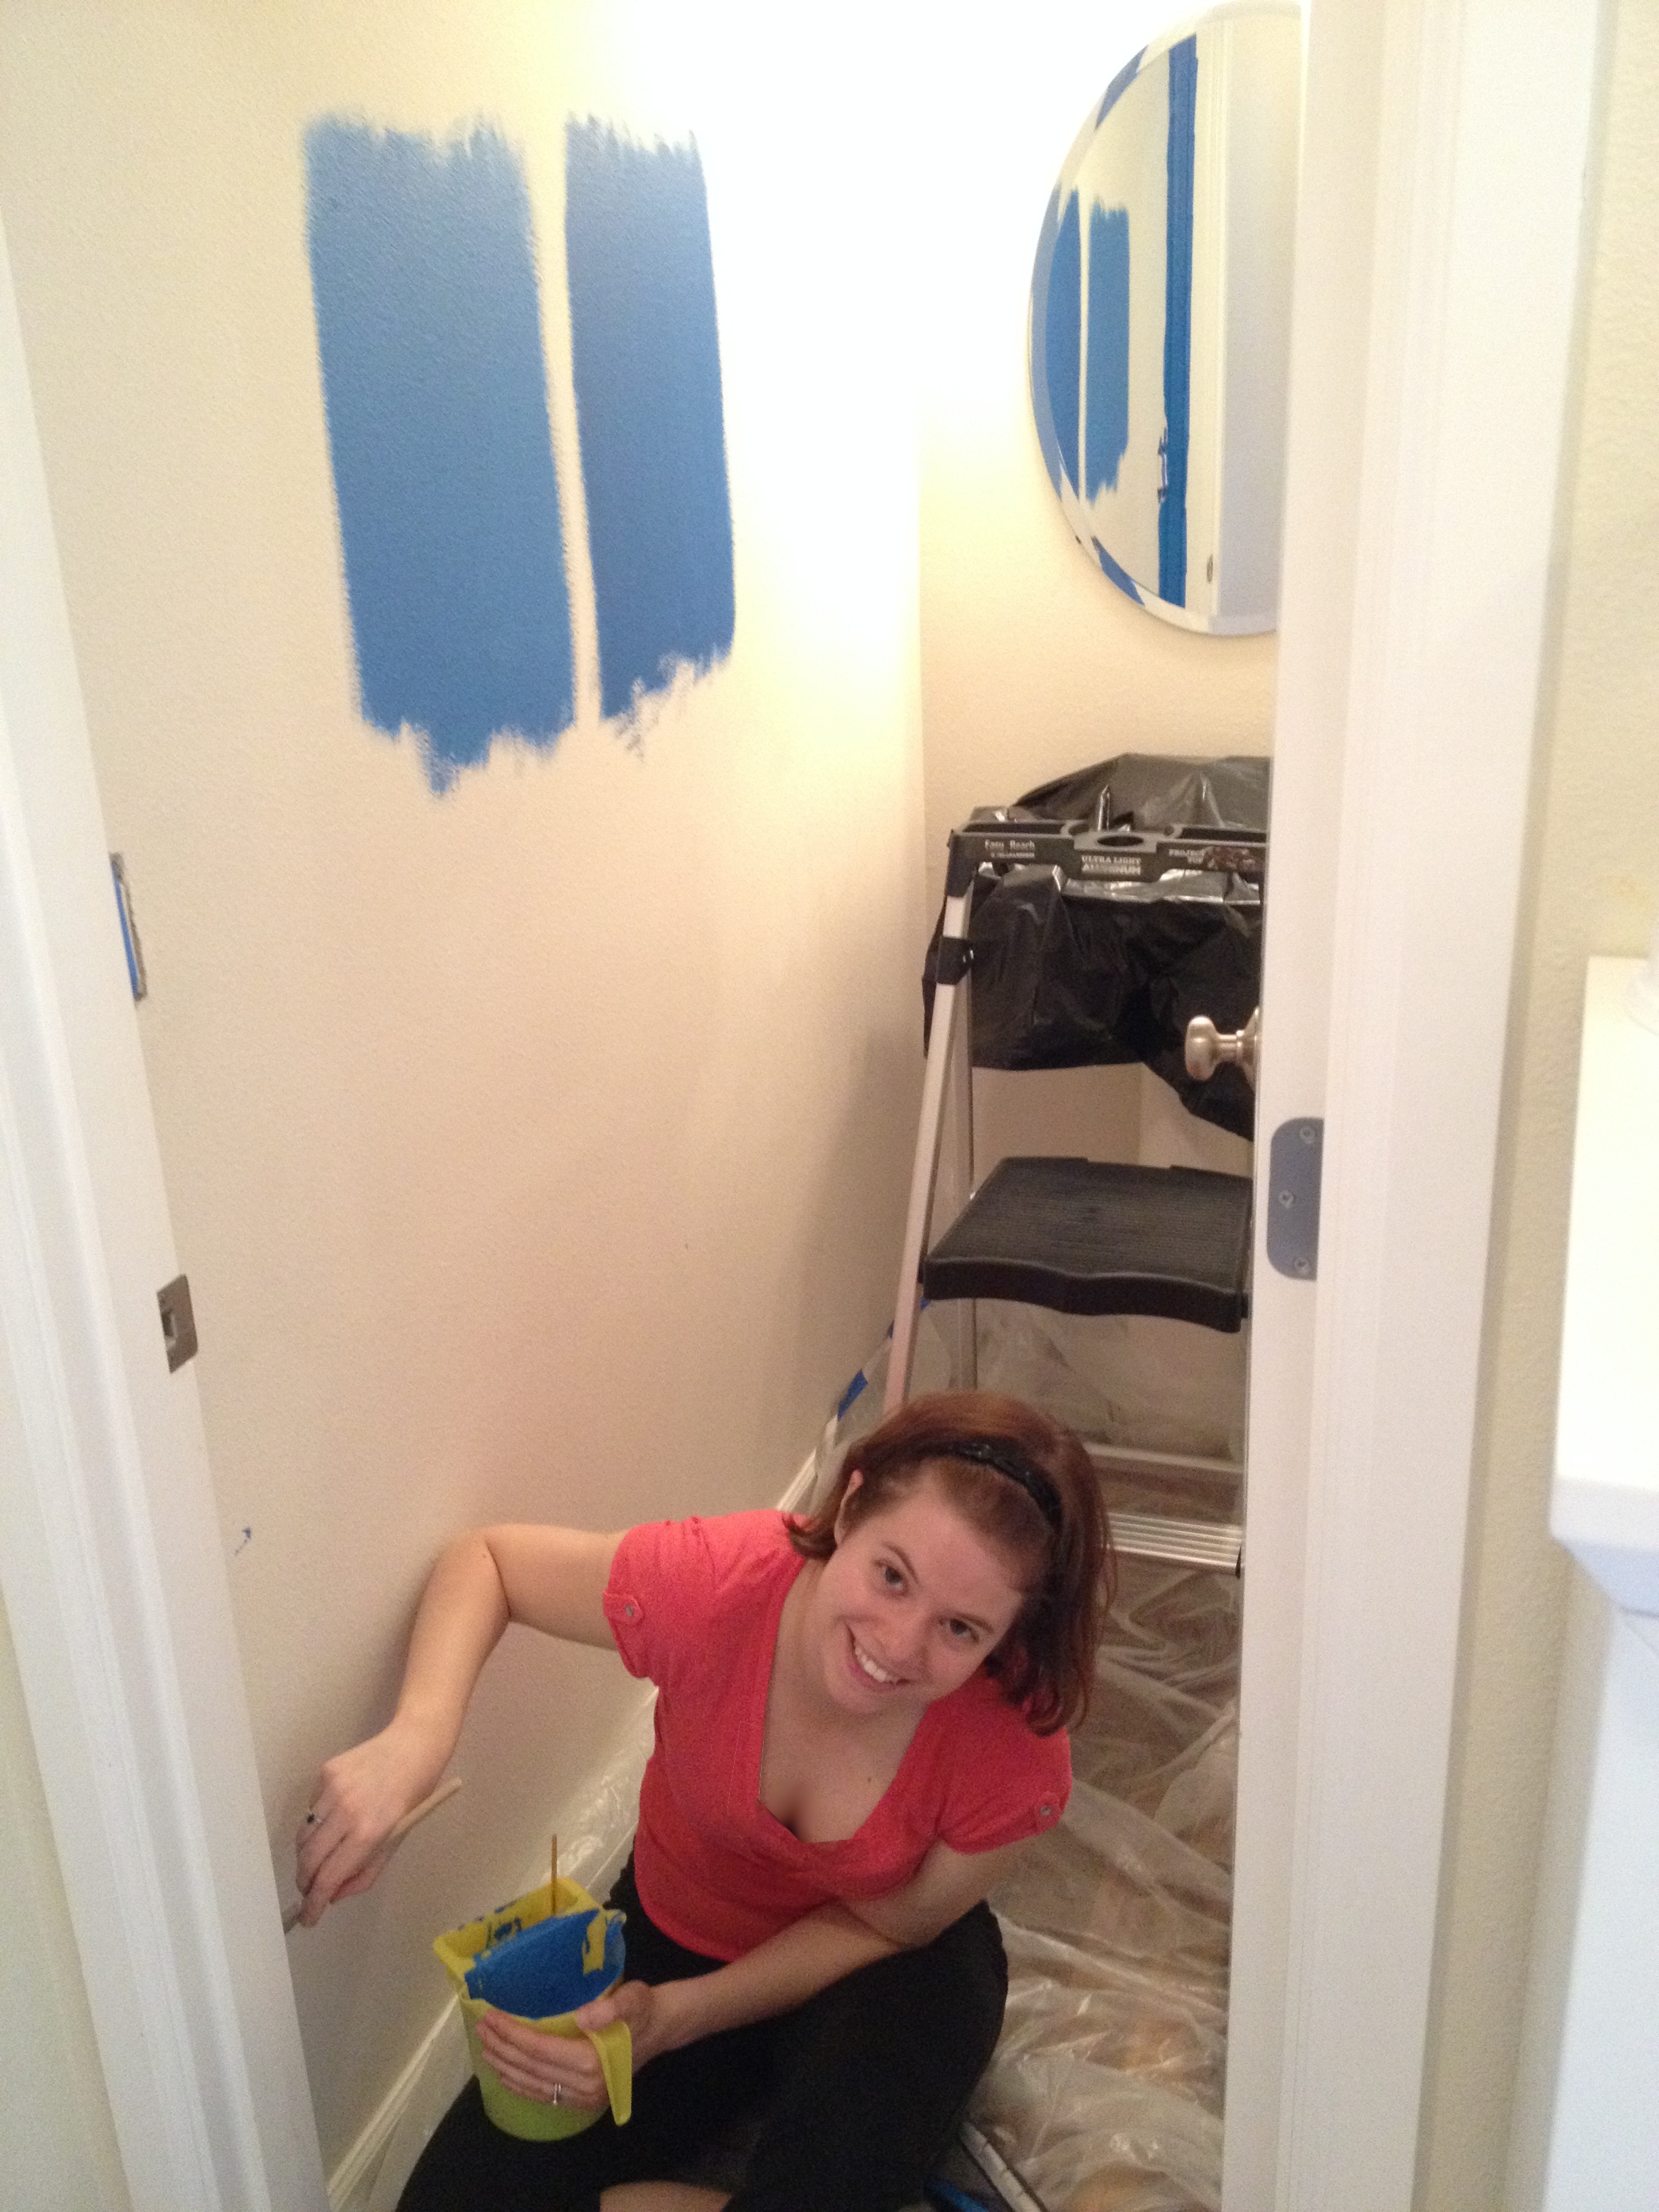
Original color was just about as exciting as it’s name – “Oatmeal.”

Easy bathroom remodel before photo

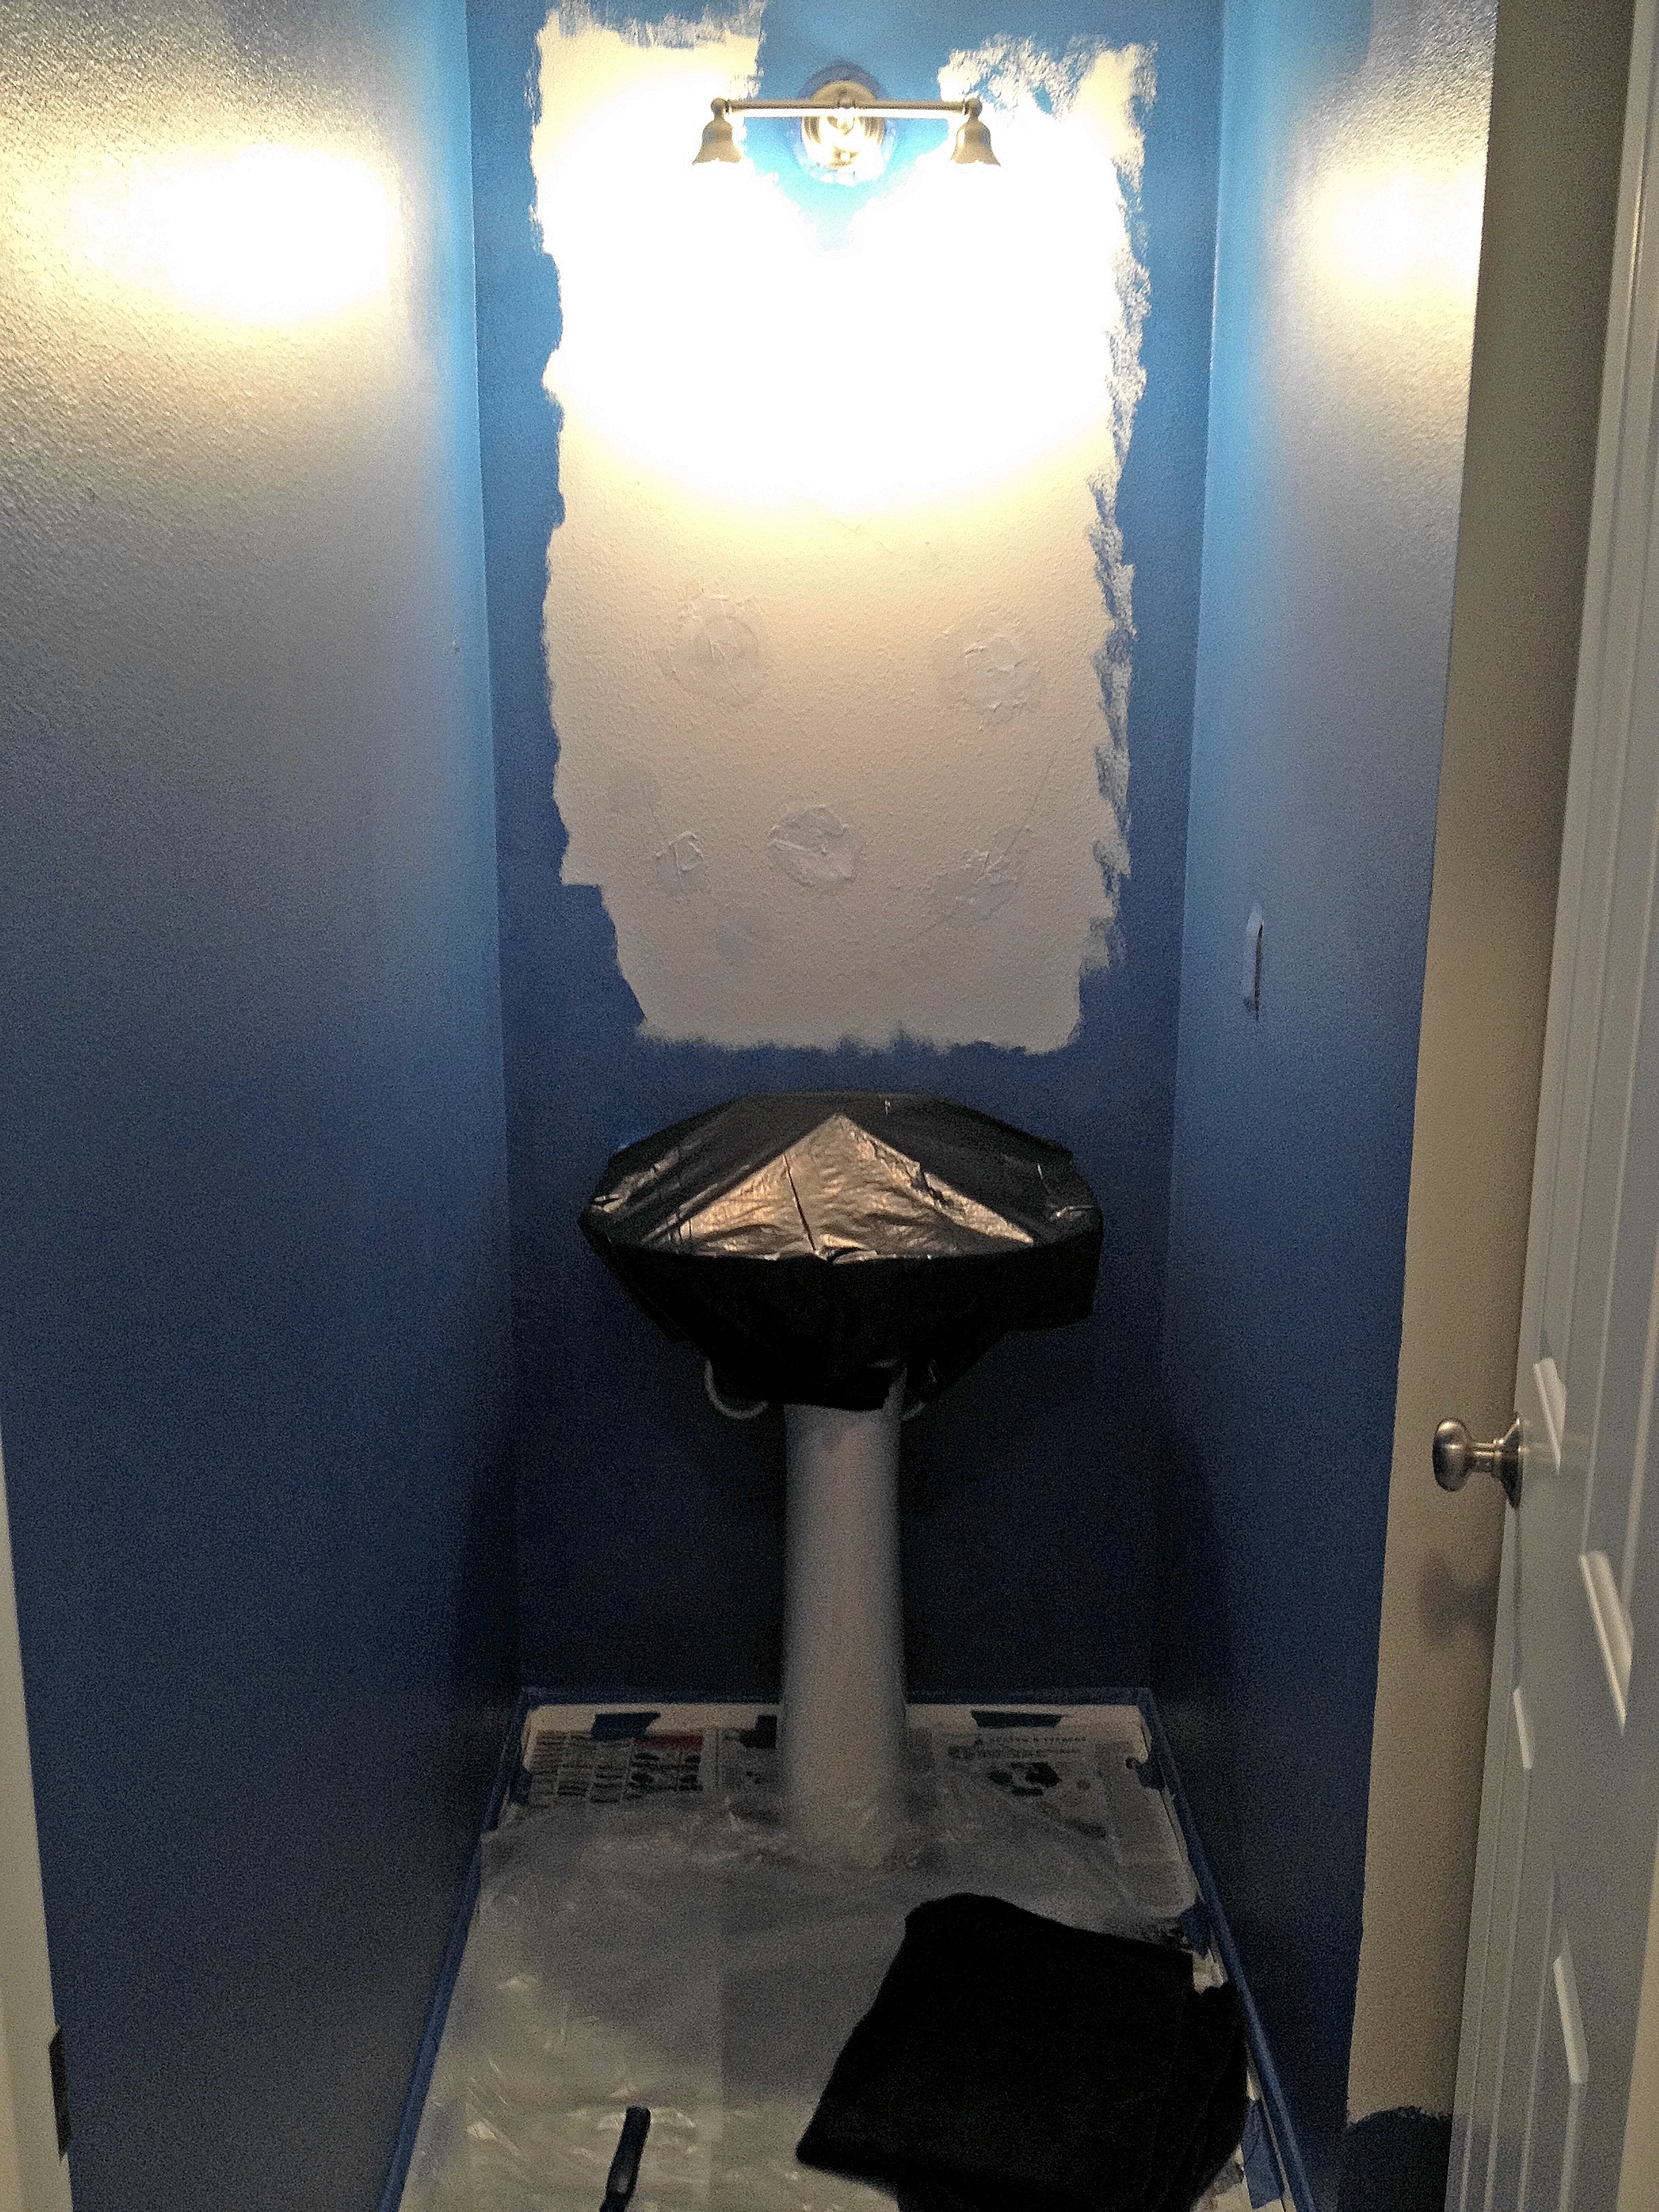
Taking down the mirror made the bathroom even darker.


With Royal Peacock on the walls and a fresh coat of white paint on the trim, I could see the white sink and toilet were really popping. To continue that effect, we replaced our standard chrome towel ring and toilet paper holder for white (less than $9/each at Home Depot and they’re metal, not plastic!). On top of that, we cautiously ripped off the builder’s grade mirror and replaced it with a bright white framed mirror that I found at Home Goods for $20! That’s what I call a bargain!

easy bathroom remodel new mirror

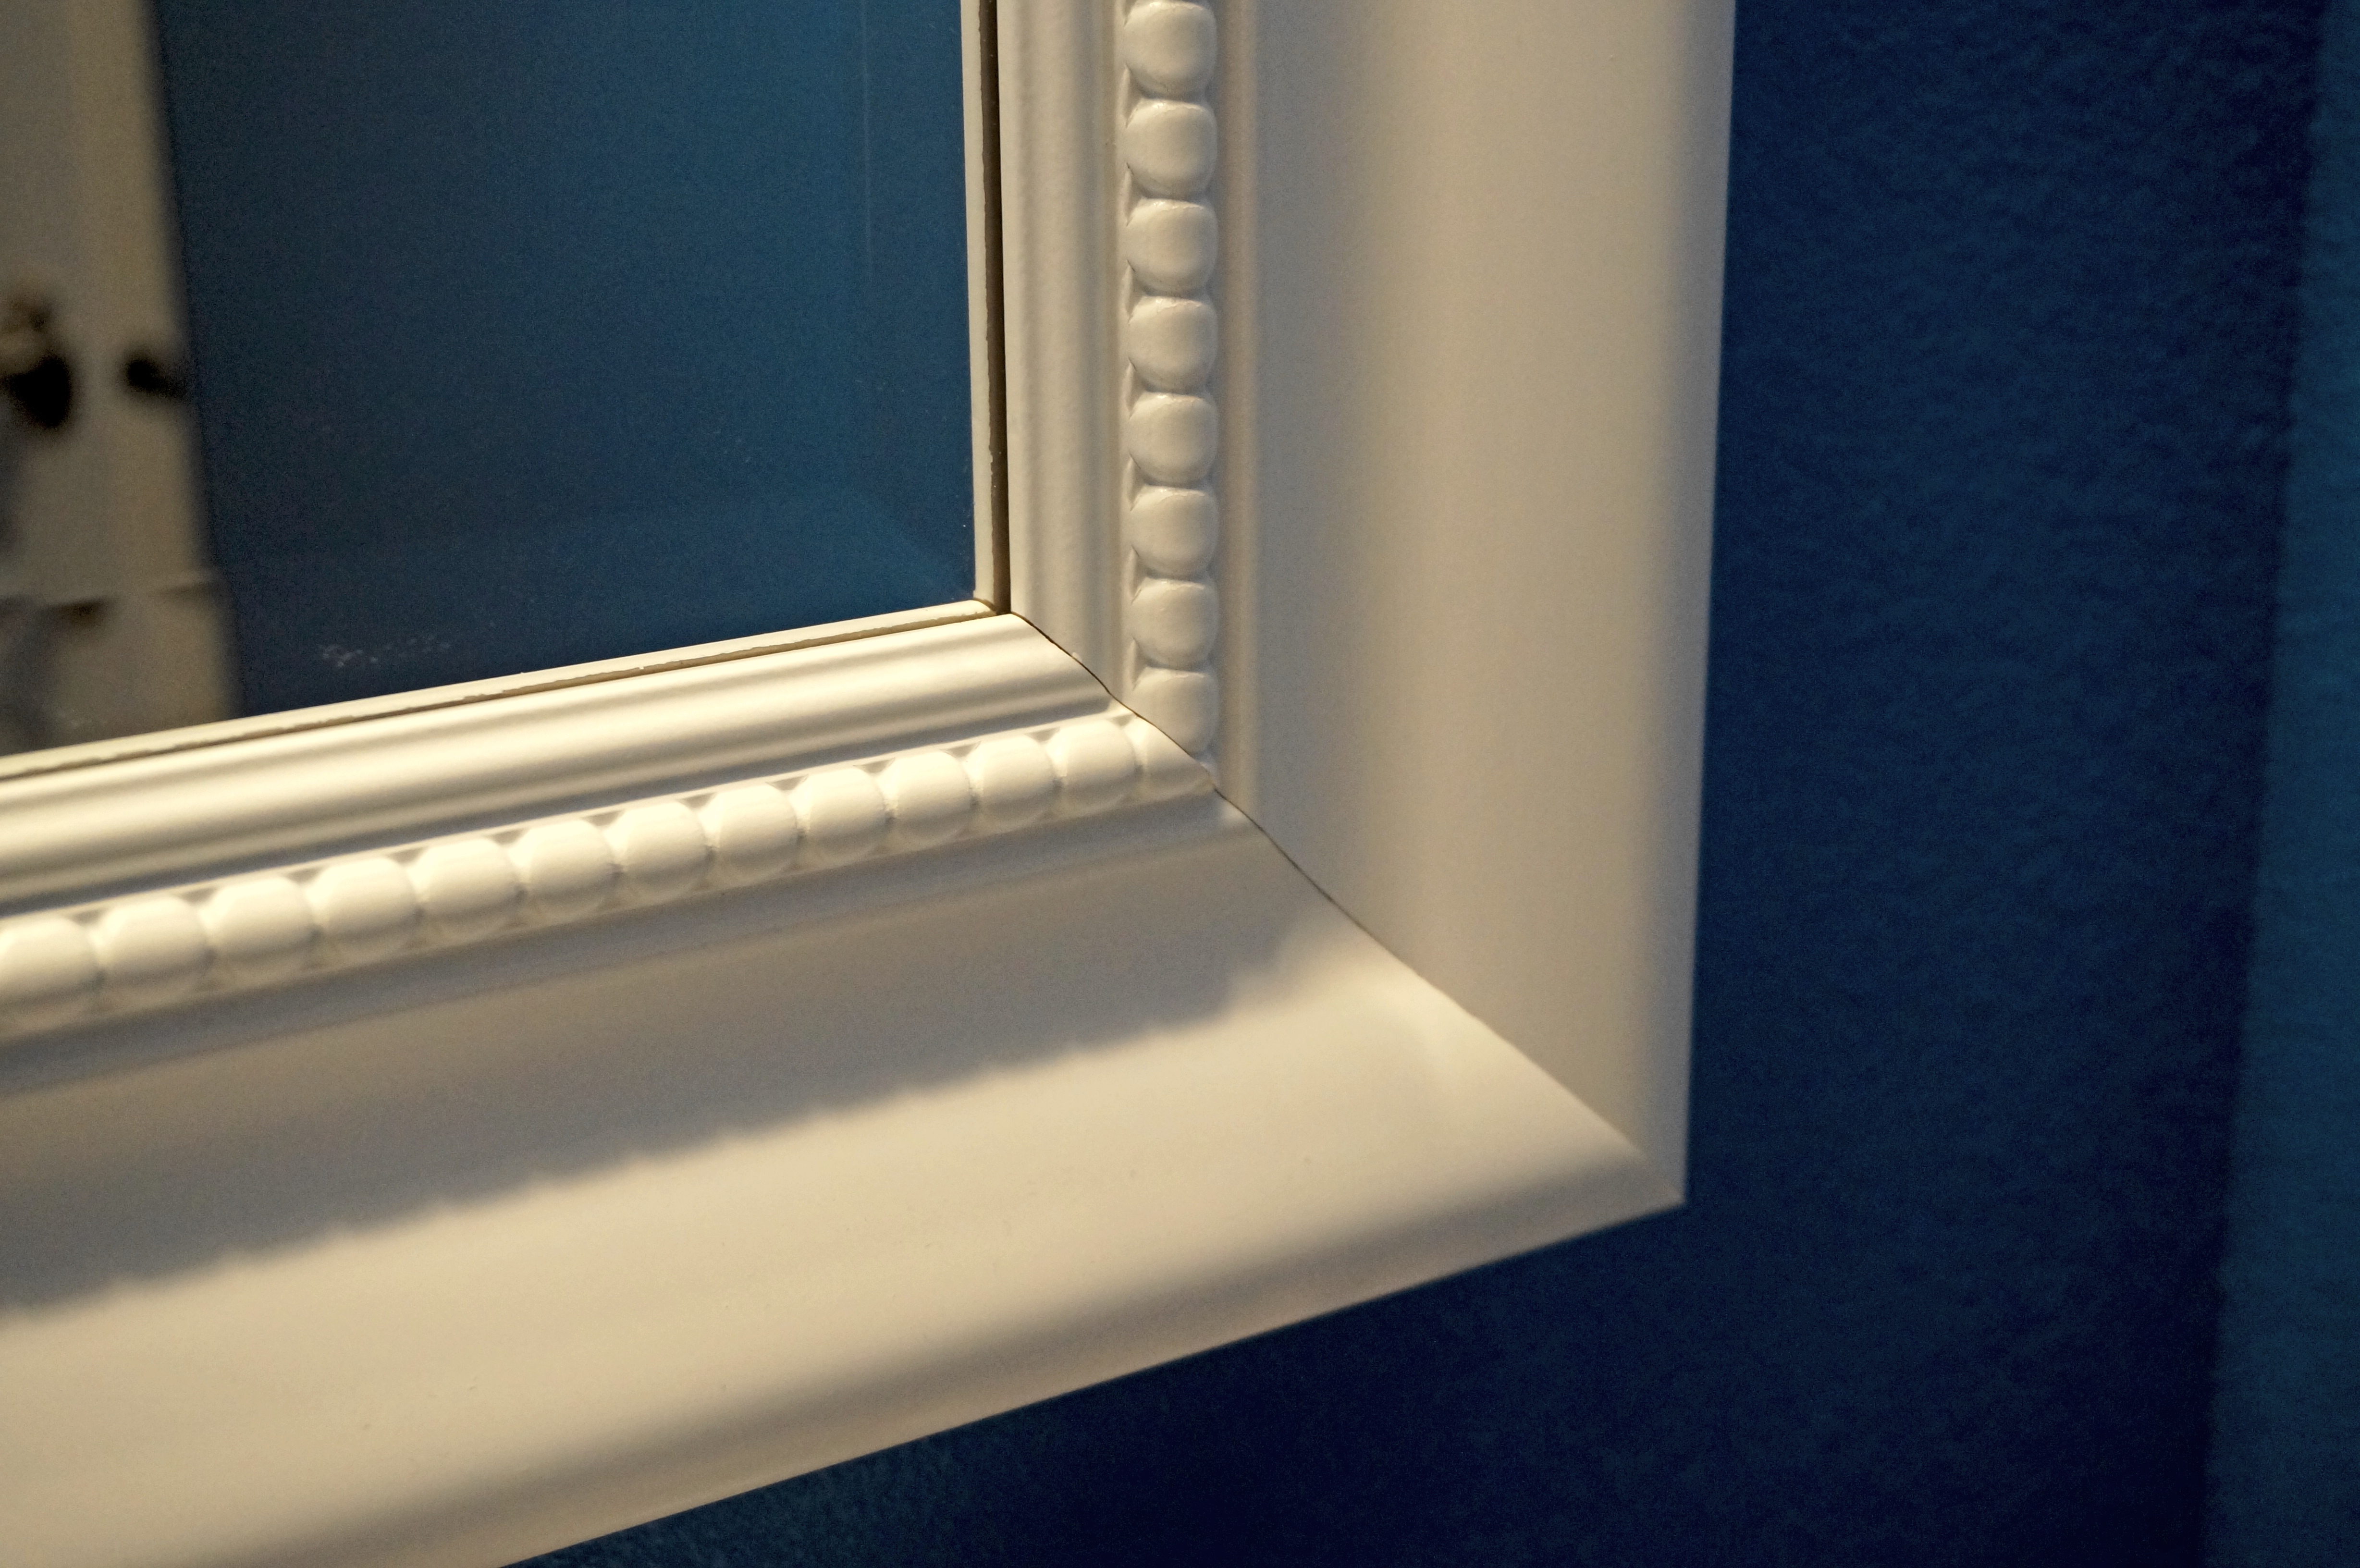
Check out that detailing!

Easy Bathroom Art

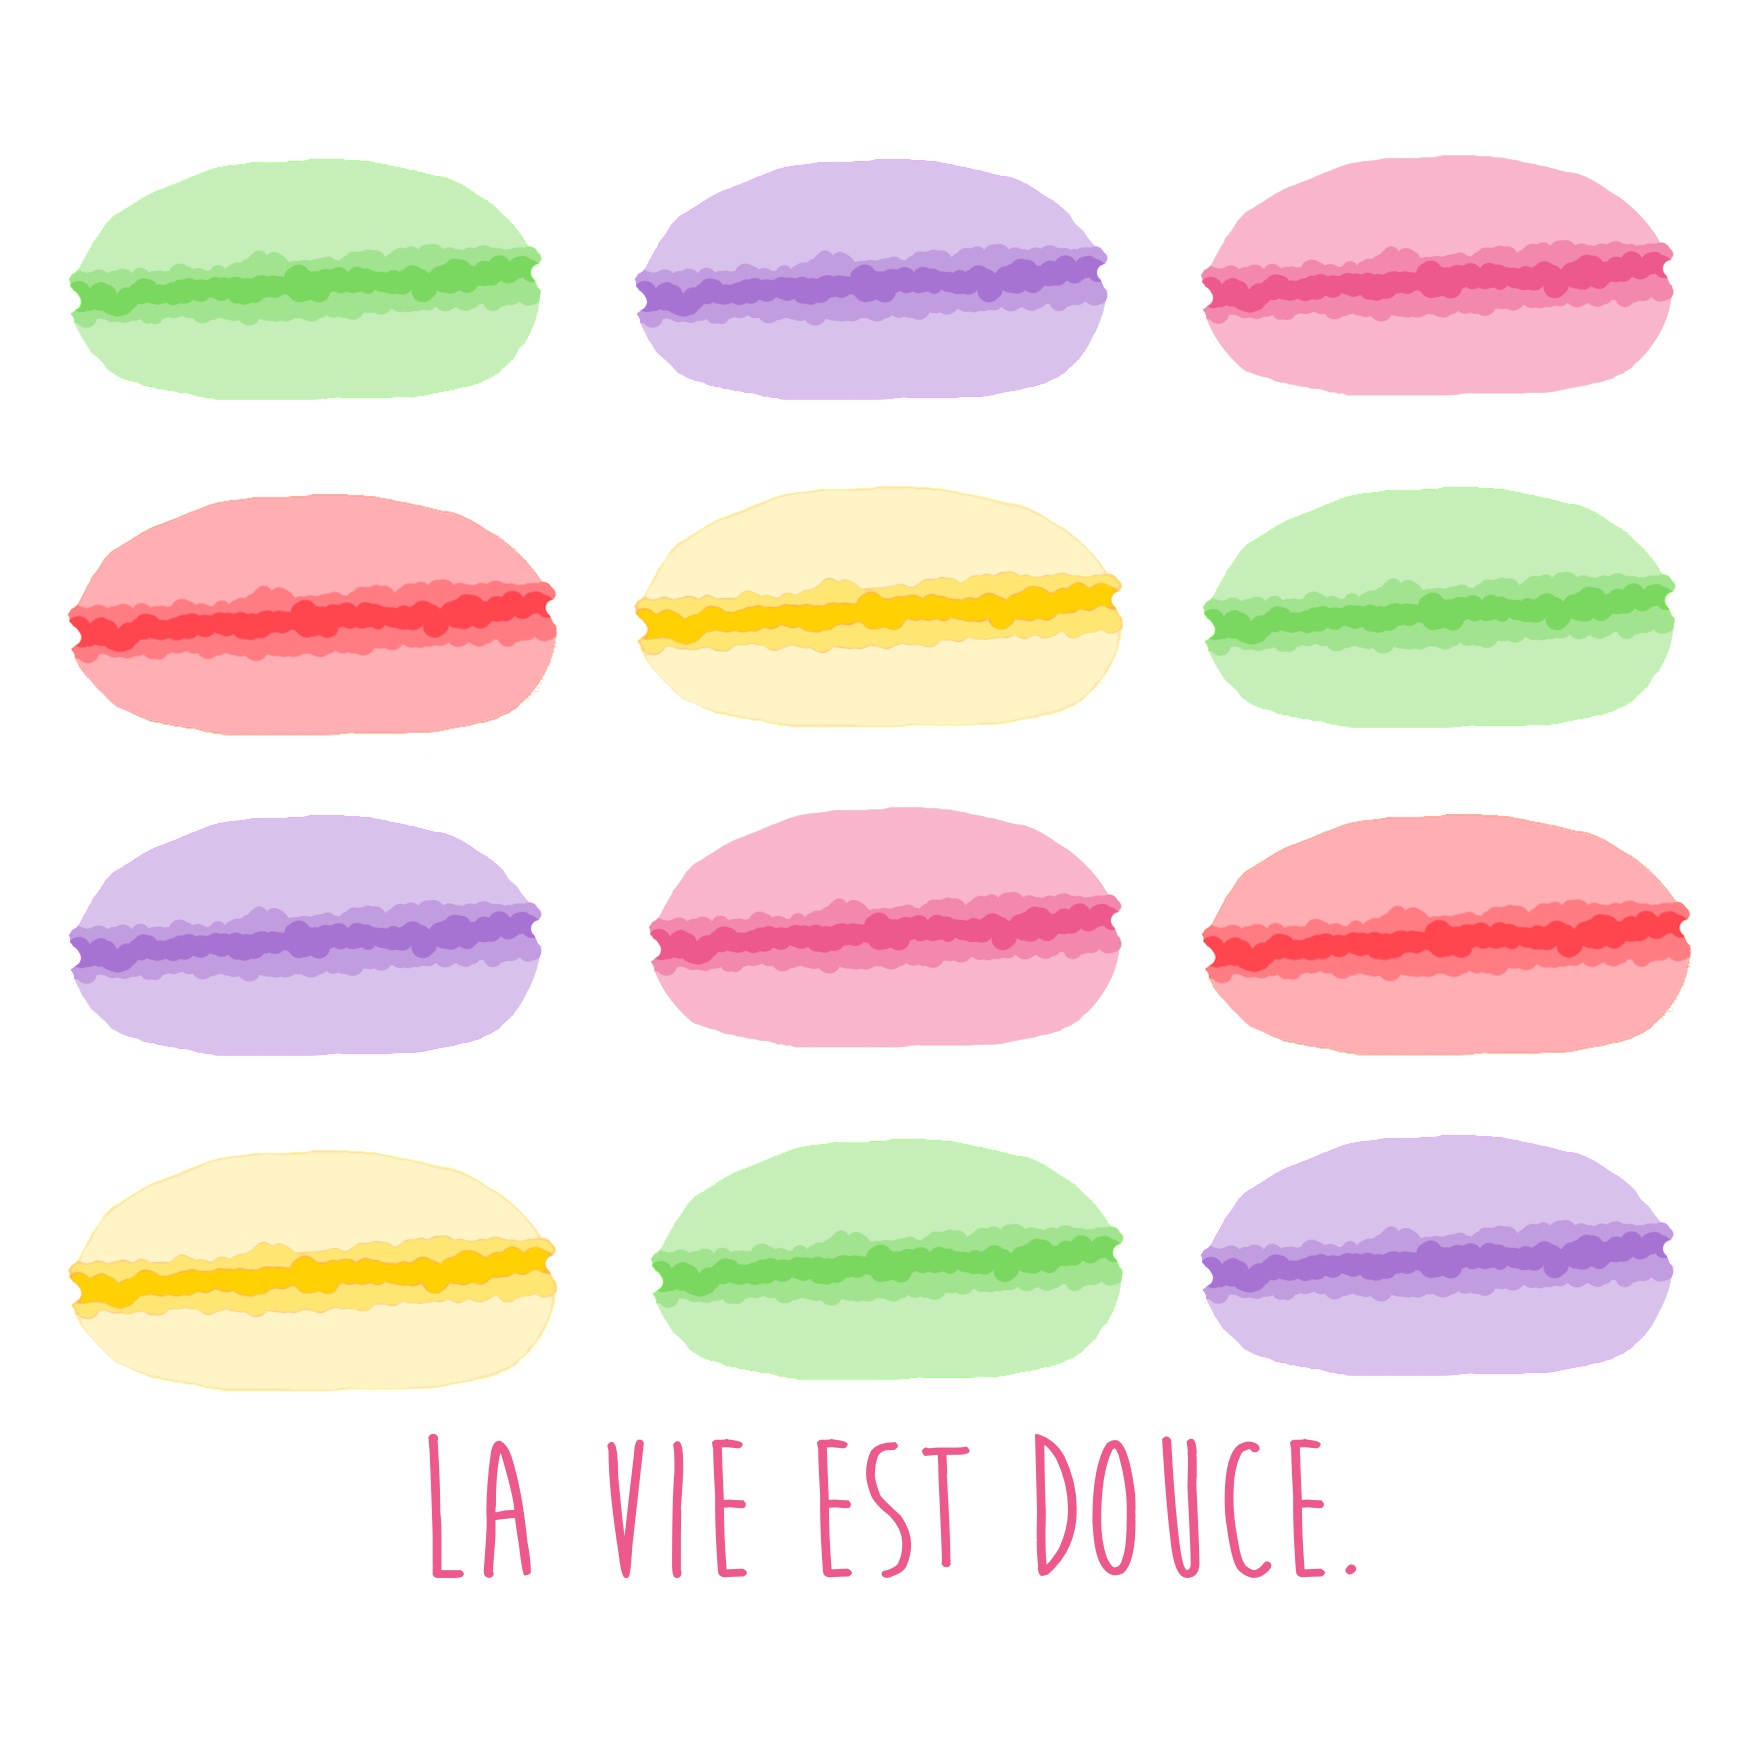
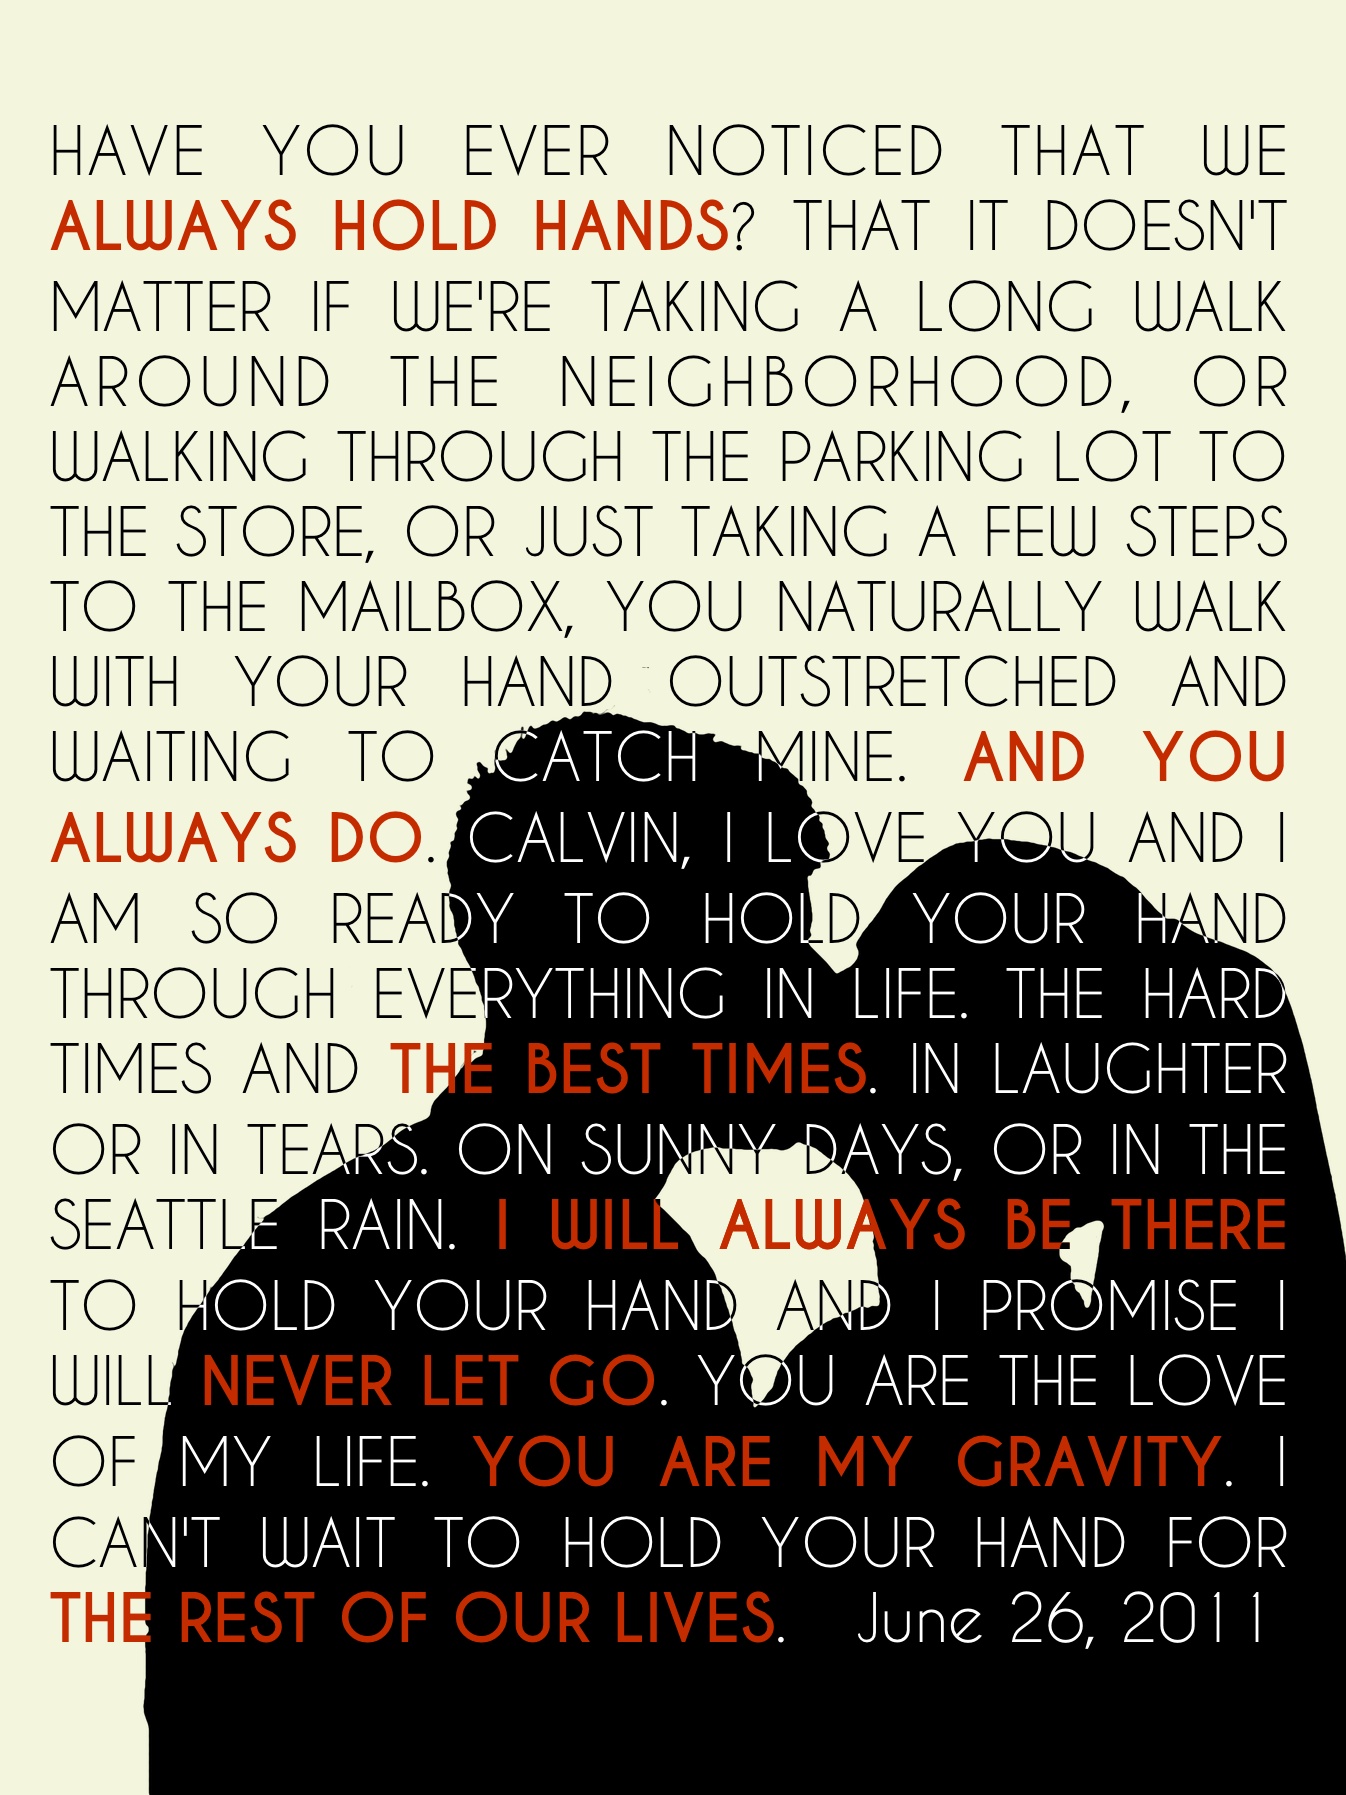
Now for the details! To me, this blue color felt very Parisian chic, so I decided to create easy Paris-themed wall art, via Pixelmator, that I could print at home on card stock and frame with store-bought white frames. I also added a framed version of my macarons wall art. Boom! Done!   

easy bathroom remodel Paris wall art

easy bathroom remodel Paris wall art

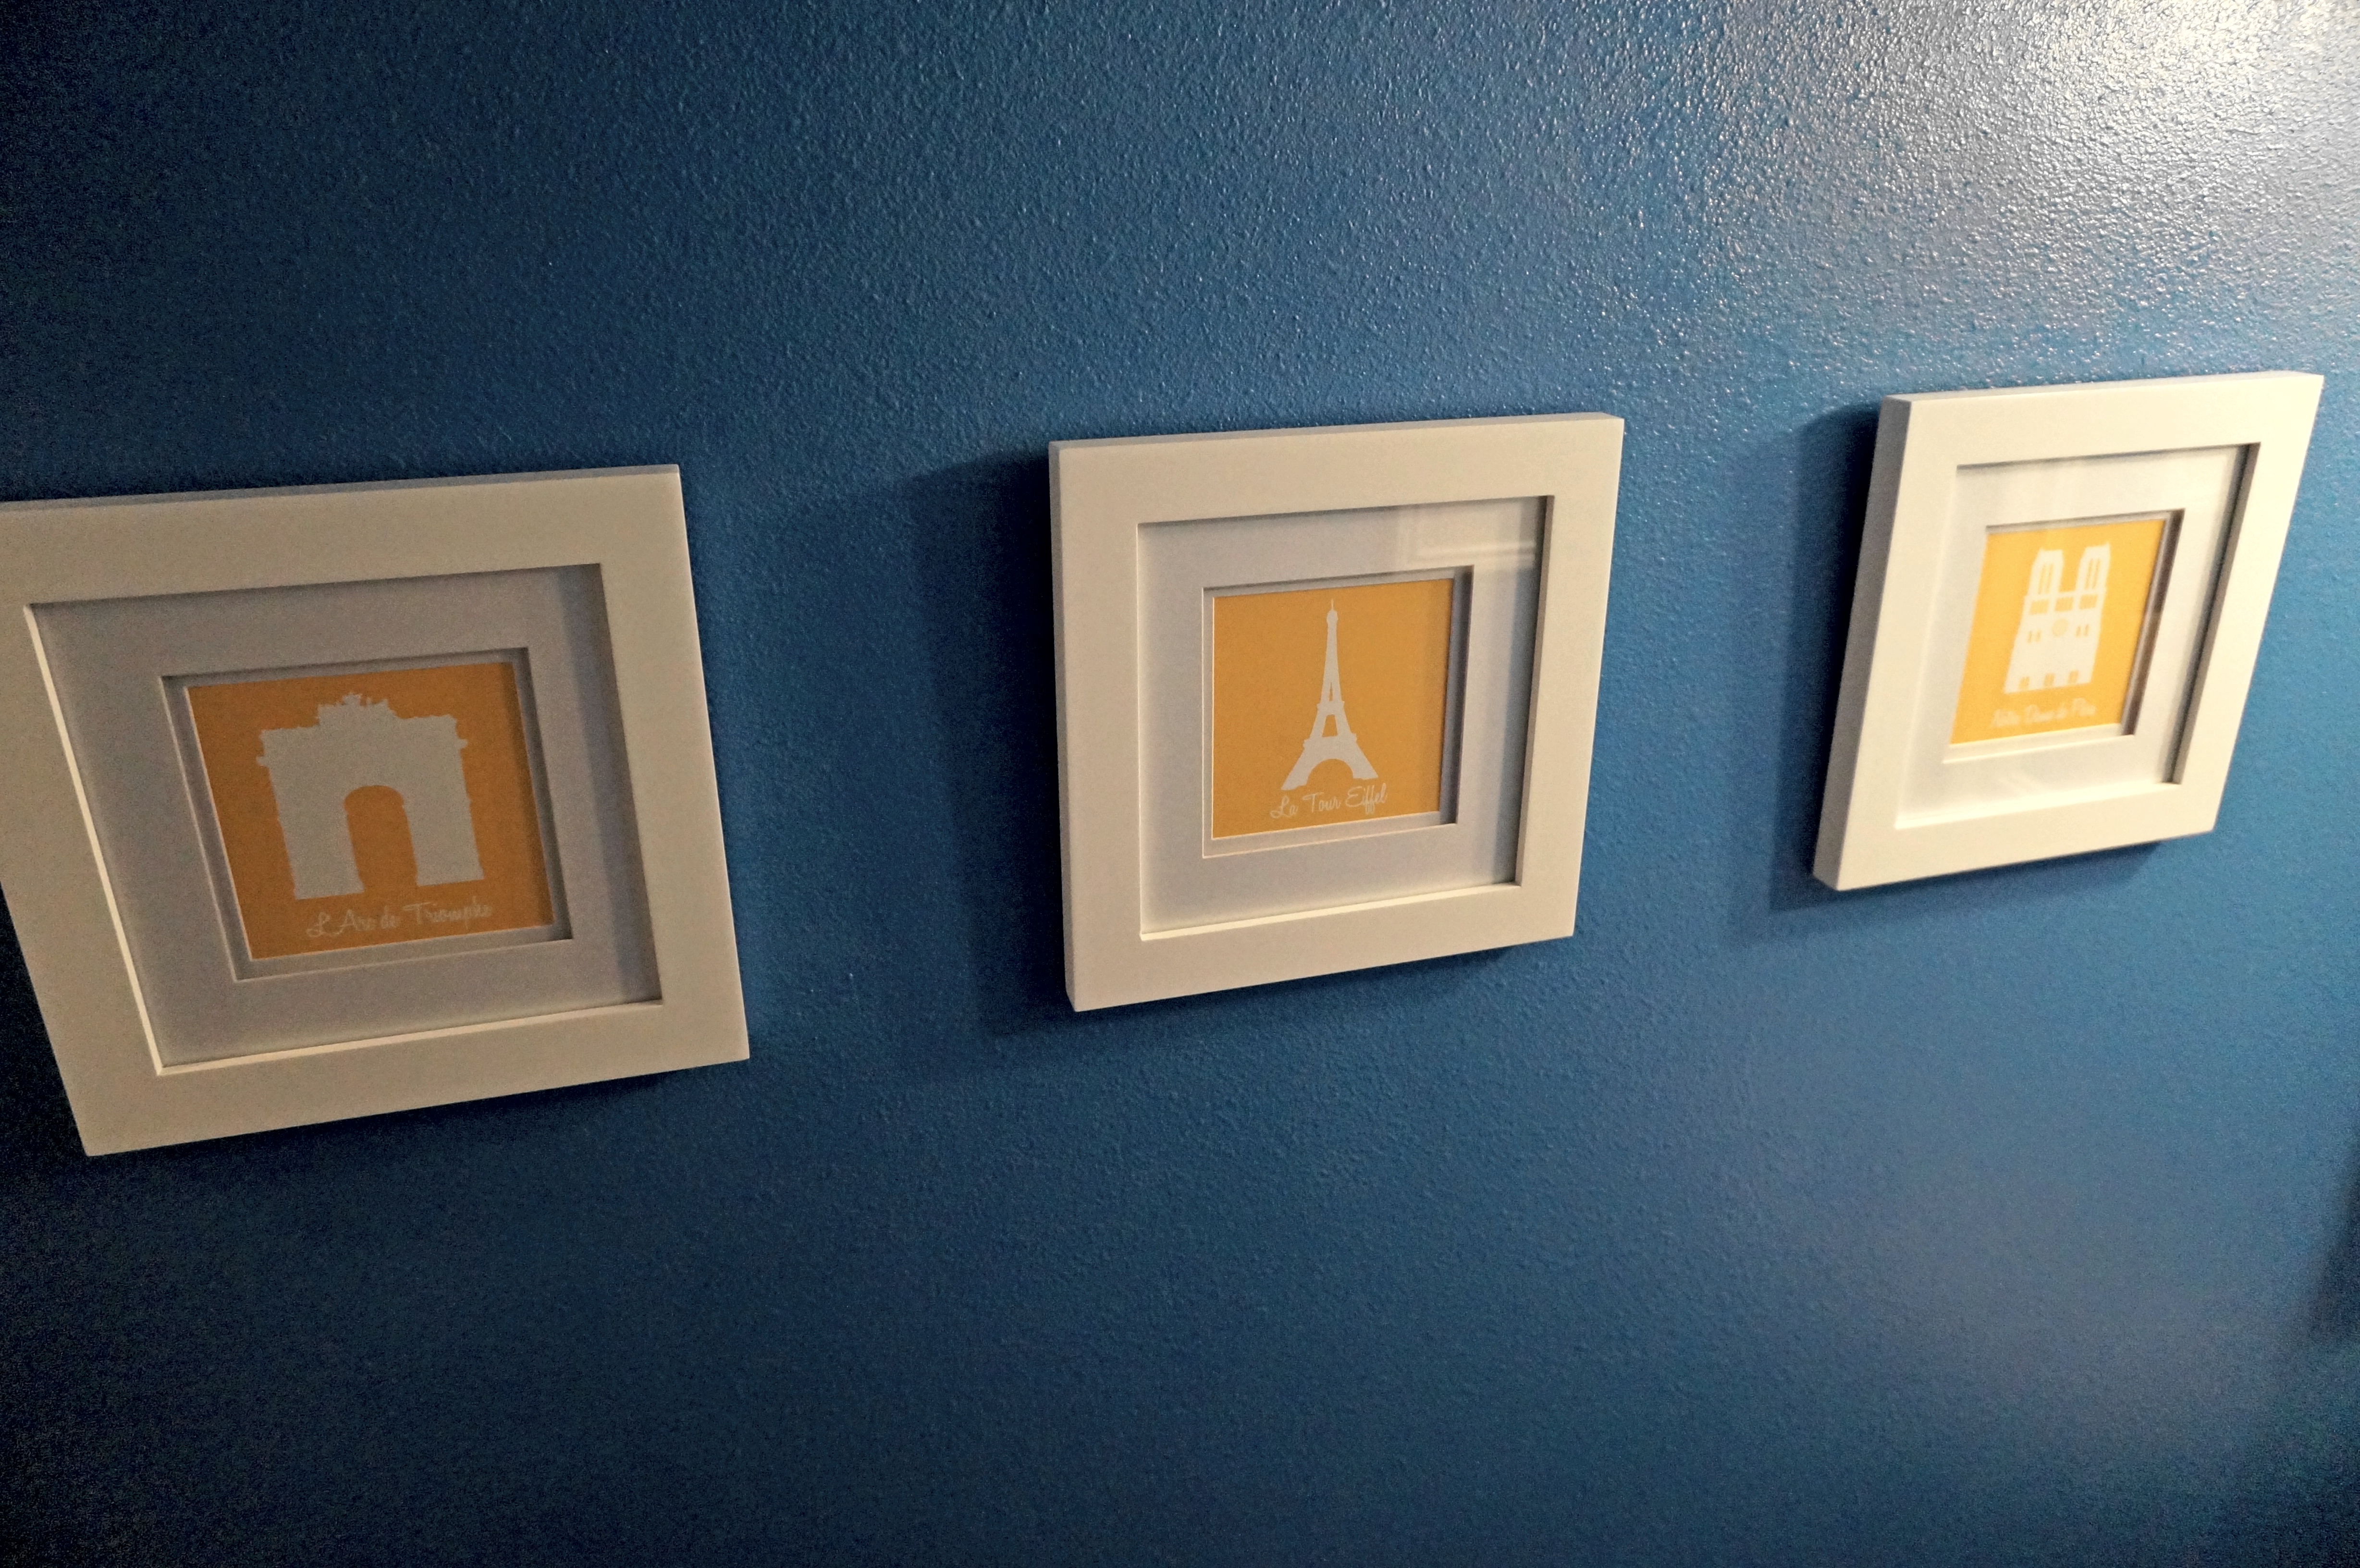
Original art by moi.

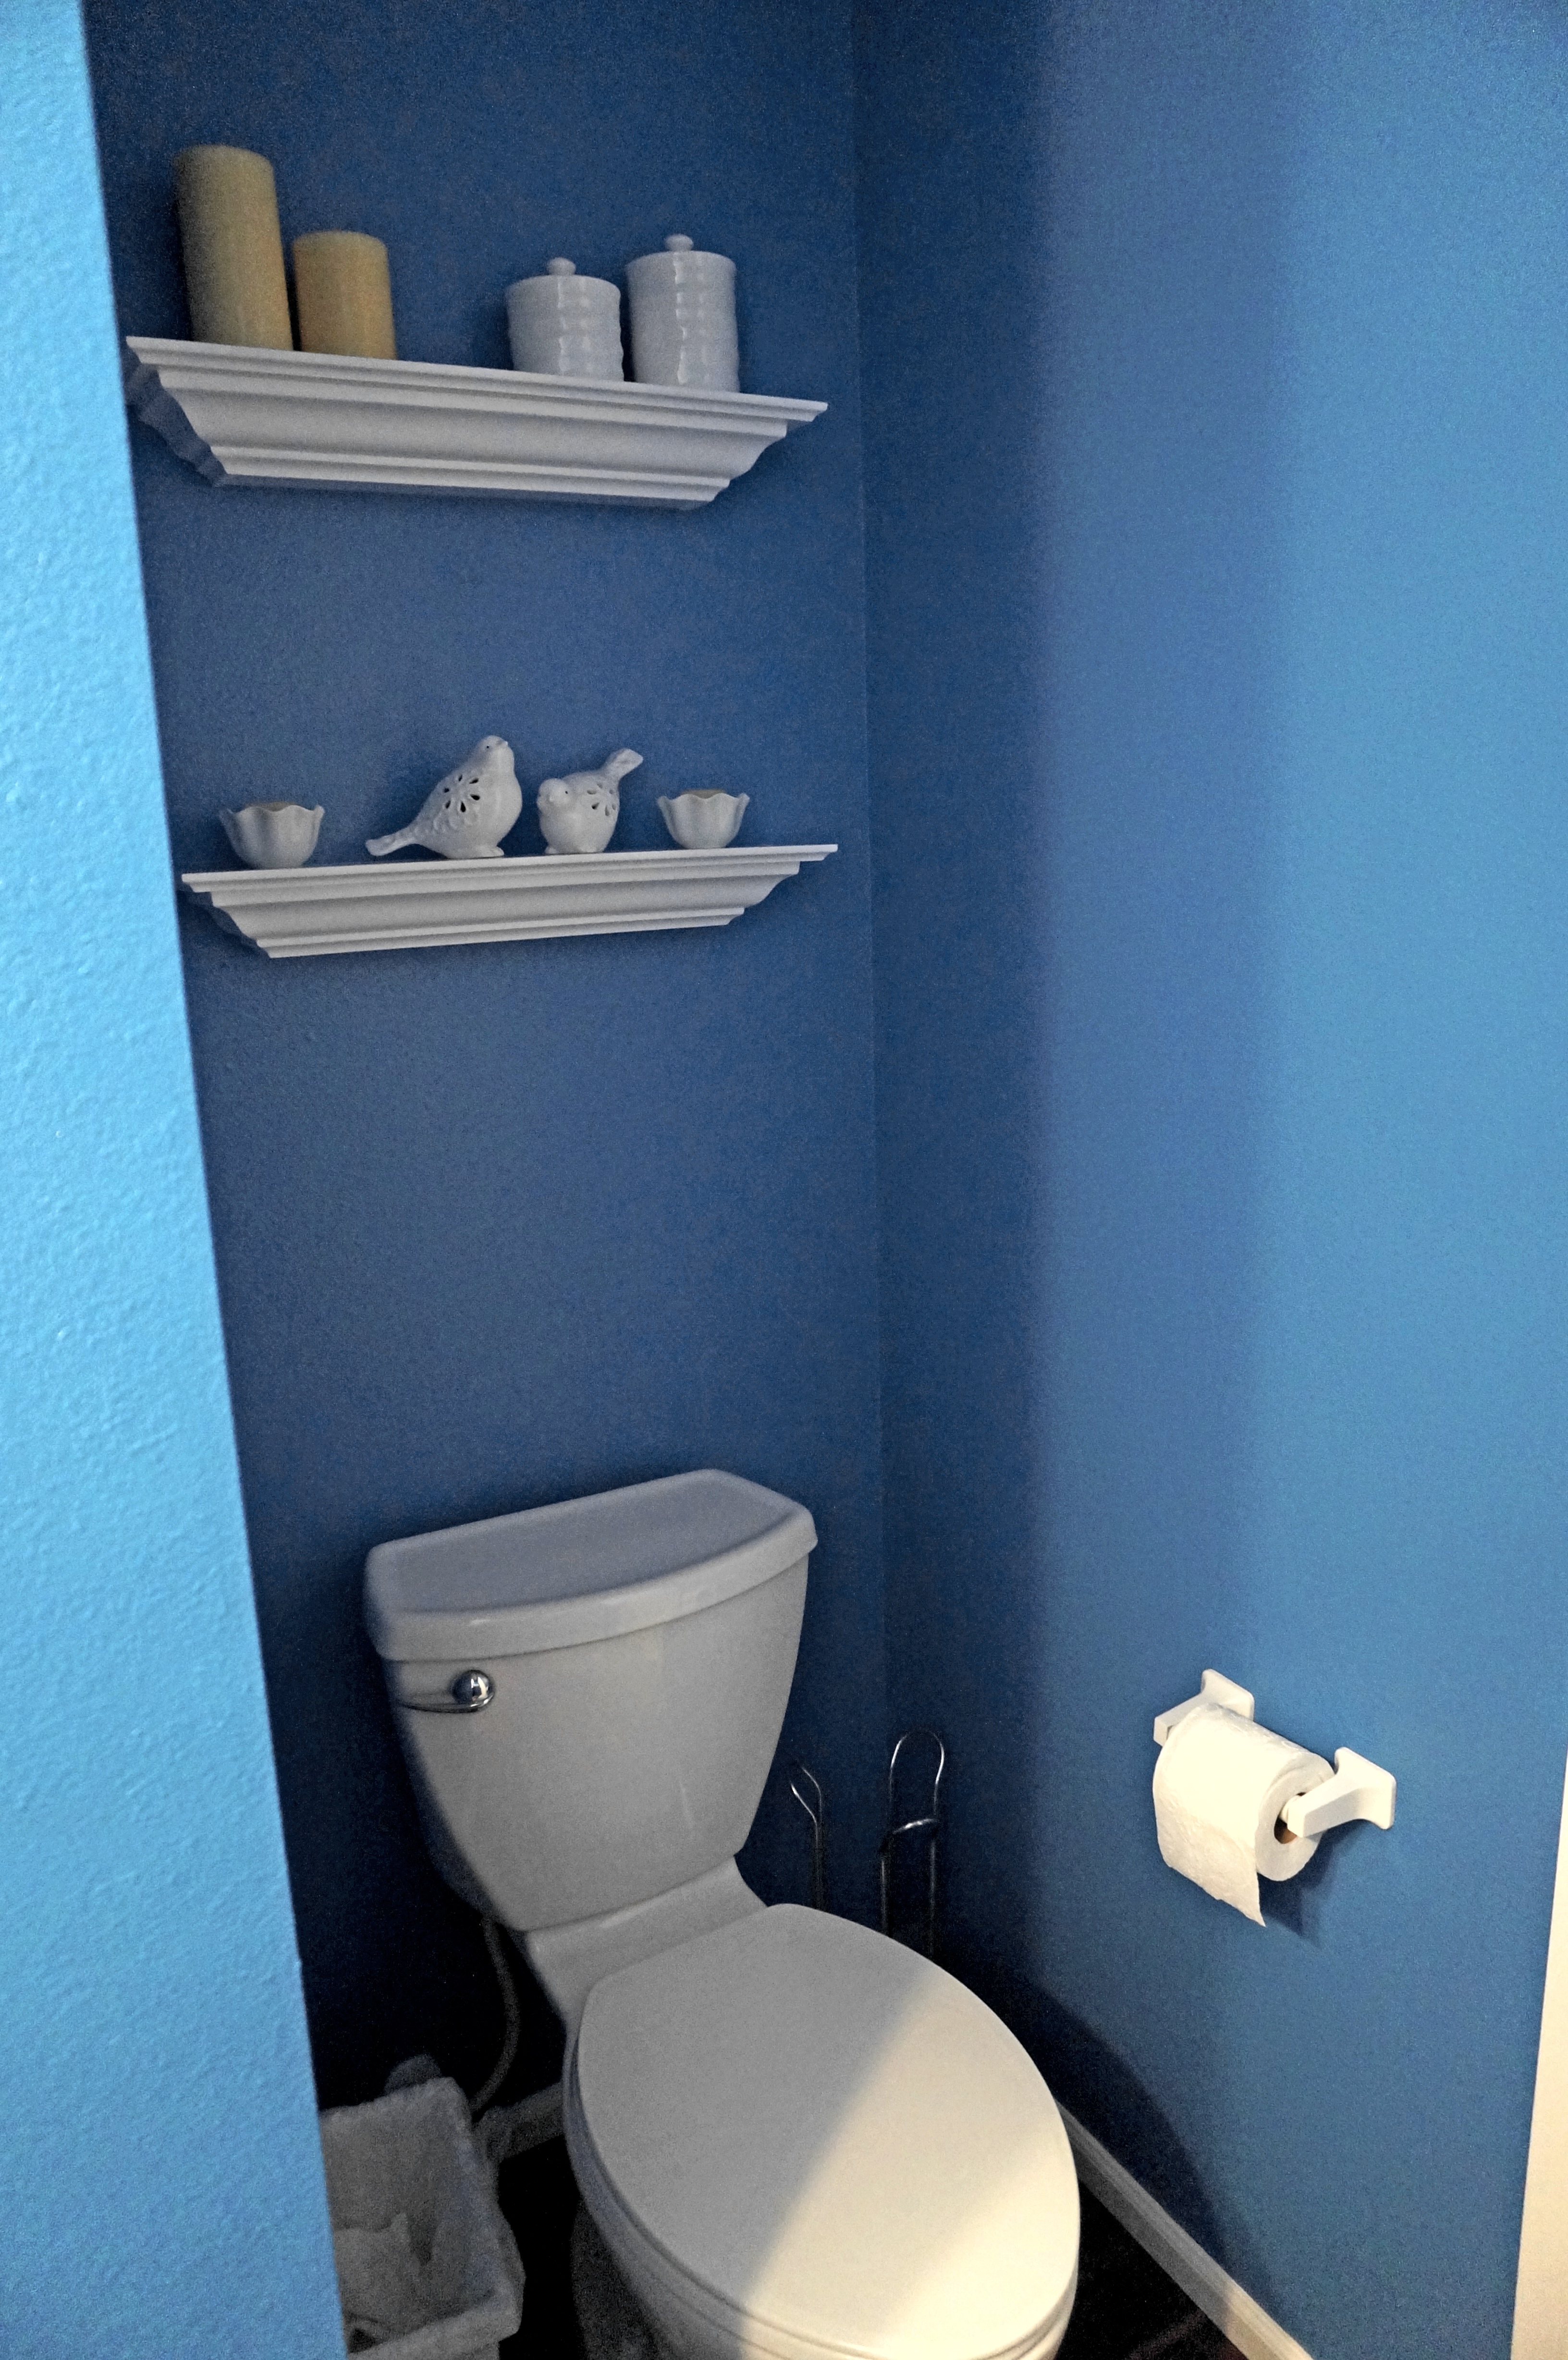
I then ordered a couple white accent shelves off of Wayfair.com for only $22/each to put above the toilet. I added a few easy knick knacks found at Michael’s and Pier 1, themed in white and golden yellow, as well as some new white hand towels.

easy bathroom remodel toilet shelves

With the last touch ups done, the bathroom makeover is complete! Despite all the cramped painting work, I think it turned out terrific and was a week well spent! Tons of thanks to the hubby for helping out – touching up those little paint spots behind the toilet is definitely one of the circles of hell.

easy bathroom remodel blue Paris

Pixel Me This: Pixelmator Photo Editing

I’m addicted to photo editing this week. I’m all over Pixelmator, a Mac-only software that is great for me because it can do pretty much anything I (and all n00bs) would ever want to do with photo and image design à la Photoshop, and also because it only costs $30 (instead of a pound of flesh). Sweet deal!

Maybe you’re like me and have a ton of photos from trips and vacations, and even wedding photos, stored on your computer but you don’t know what to do with them so none of them see the light of day. Once I tried to take charge and get “creative” by having a wedding photo of us printed on a big gallery-wrapped canvas (I had an online deal) and when it came I realized, hm, it’s kind of awkward to have a giant photo of myself on display in my living room. I didn’t quite think that one through. But being able to “play” with all of my photos using Pixelmator has shown me that there is so much more to do with photos than simply printing and framing. You can make real works of art! And there are a lot of tutorials out there to help you get started.

Here are a few of the photos I messed around with:

Before Pixelmator photo editing

Before Pixelmator

After Pixelmator photo editing

After Pixelmator

Gondolier Before Pixelmator photo editing

Gondolier Before

Gondolier After Pixelmator photo editing

Gondolier After

Rattlesnake Lake Before Pixelmator photo editing

Rattlesnake Lake Before

Rattlesnake Lake After Pixelmator photo editing

Rattlesnake Lake After

Beat that, Instagram! I’ve learned a lot in the past week and that got me thinking – what should my first big project be?

My husband and I wrote our own wedding vows and once they were said, we never read them again. But I remember how emotional we were hearing our own words and I’ve wanted to feature them in our home, above our bed, to remind us of our dedication to each other. (Also, the big wall above our bed is completely empty and sad.) Before I got started, I googled “wedding vow art.” There are a lot of great ideas out there but the crazy thing is, there are Etsy shops dedicated to creating customized prints of wedding vows that charge $50 and up! And sometimes that is only for the digital file.

Using the internet for inspiration, our wedding photos as a backdrop, and Pixelmator for the design work, I think I created a couple of prints of our vows that I’m proud to say I made myself. Although I’m not sure how I want them printed (on canvas or simply printed and framed), I’m 100% committed to getting these off my laptop and into the bright light of day.

Pixelmator wedding vows art Pixelmator wedding vows art

Easy fabric wall art: Go bold or go home

easy fabric wall art cover

Even after a year in our first house, we’re still slow to “make it our own” by getting things up on the walls.  I think the downstairs is done, so I looked upstairs for my next craft project. I have a writing nook with a desk and chair underneath a window adjacent to a fairly large blank, colorless wall in need of some love.

easy fabric wall art before photo

Could this wall be any less inspiring?

Enter Pinterest. I found a project turning plain canvases and some fabric into bold fabric wall art. One minute I’m watching a how-to video, the next minute I’m roaming around JoAnn Fabrics, my eyes glazed over. By the end of the day, voila, fabric wall art, as simple as that!

What you’ll need to make your easy fabric wall art:

  • plain wooden-framed canvases
  • fabric
  • scissors
  • staple gun (I used 1/4″ heavy duty staples)
  • eye protection (safety first, people)

Directions:

1) I purchased three canvases at Michaels, 16″ x 20″. Canvas can get pricey, so I purchased the most basic quality. I purchased 2 yards of fabric total to cover the canvases. You want enough fabric so you can wrap the edges of the frames. Here are the patterns I picked:

easy fabric wall art birds

So chic birds ca-cawed my name.

easy fabric wall art stripes

Sassy gold, black and grey stripes.

2) Measure and cut the fabric you need for each canvas. Iron the cut pieces of fabric to get out all the wrinkles.

3) Place the fabric pattern side down with the canvas frame on top, wooden frame facing up. Make sure there is enough fabric so you can wrap each edge, just like the manufacturer already did with the canvas over the frame.

easy fabric wall art prepare frames

Lay canvas frame backside up on fabric.

4) Safety goggles on now, please! (Or, if you’re like me, you won’t know where your husband put the safety goggles so you’ll resort to some sunglasses.) Wrap one edge of the fabric over the canvas frame and put a staple every few inches across to secure it to the frame. Make sure the edge is even and does not pucker.

easy fabric wall art wrap frames

Staple every couple of inches along each edge.

5) Repeat the stapling procedure for the opposite side of the frame so that the fabric is evenly stretched across the frame.

easy fabric wall art staple gun

Staple gun badass – don’t forget eye protection!

6) Repeat with the remaining two sides of the frame.

7) Now for the corners! It’s best to watch the video for this, but in my own words, it’s similar to how you wrap a gift. Put two staples in each corner.

easy fabric wall art wrap frames

Wrap the corners last with two staples each.

Turn over your canvas. It looks amazing, right? Now repeat for the rest of your canvases. How easy was that? What else can you staple? You’re a serious pro!

easy fabric wall art set of three