
Cheers, we just survived our first remodel! Check it off the official “how you know you’re an adult” list.
We didn’t rip out any cabinets or tear down any walls, but our basic kitchen remodel still had it’s share of stress, anxiety and ultimately, satisfaction and pride. It took a lot of research and decision-making to get to this point. Here’s our advice:
Find out what to expect:
If you’re like us and never remodeled before, it’s important to educate yourself on how to hire a contractor, types of materials, appliances, etc. There are too many horror stories out there about shifty contractors, shoddy materials, and some real lemons, to take any chances on just anyone or anything. This is your house, remember, you only want the best! I highly suggest joining Angie’s List and checking out these resources online:
- The (Don’t Get Burned) Kitchen Remodeling Guide: A simple guide to walk you through any remodel.
- Houzz Kitchen Workbook: Goes over many aspects of a kitchen remodel with plenty of design ideas (= beaucoup de photos).
- Consumer Reports: If you don’t have a subscription, check your local library.
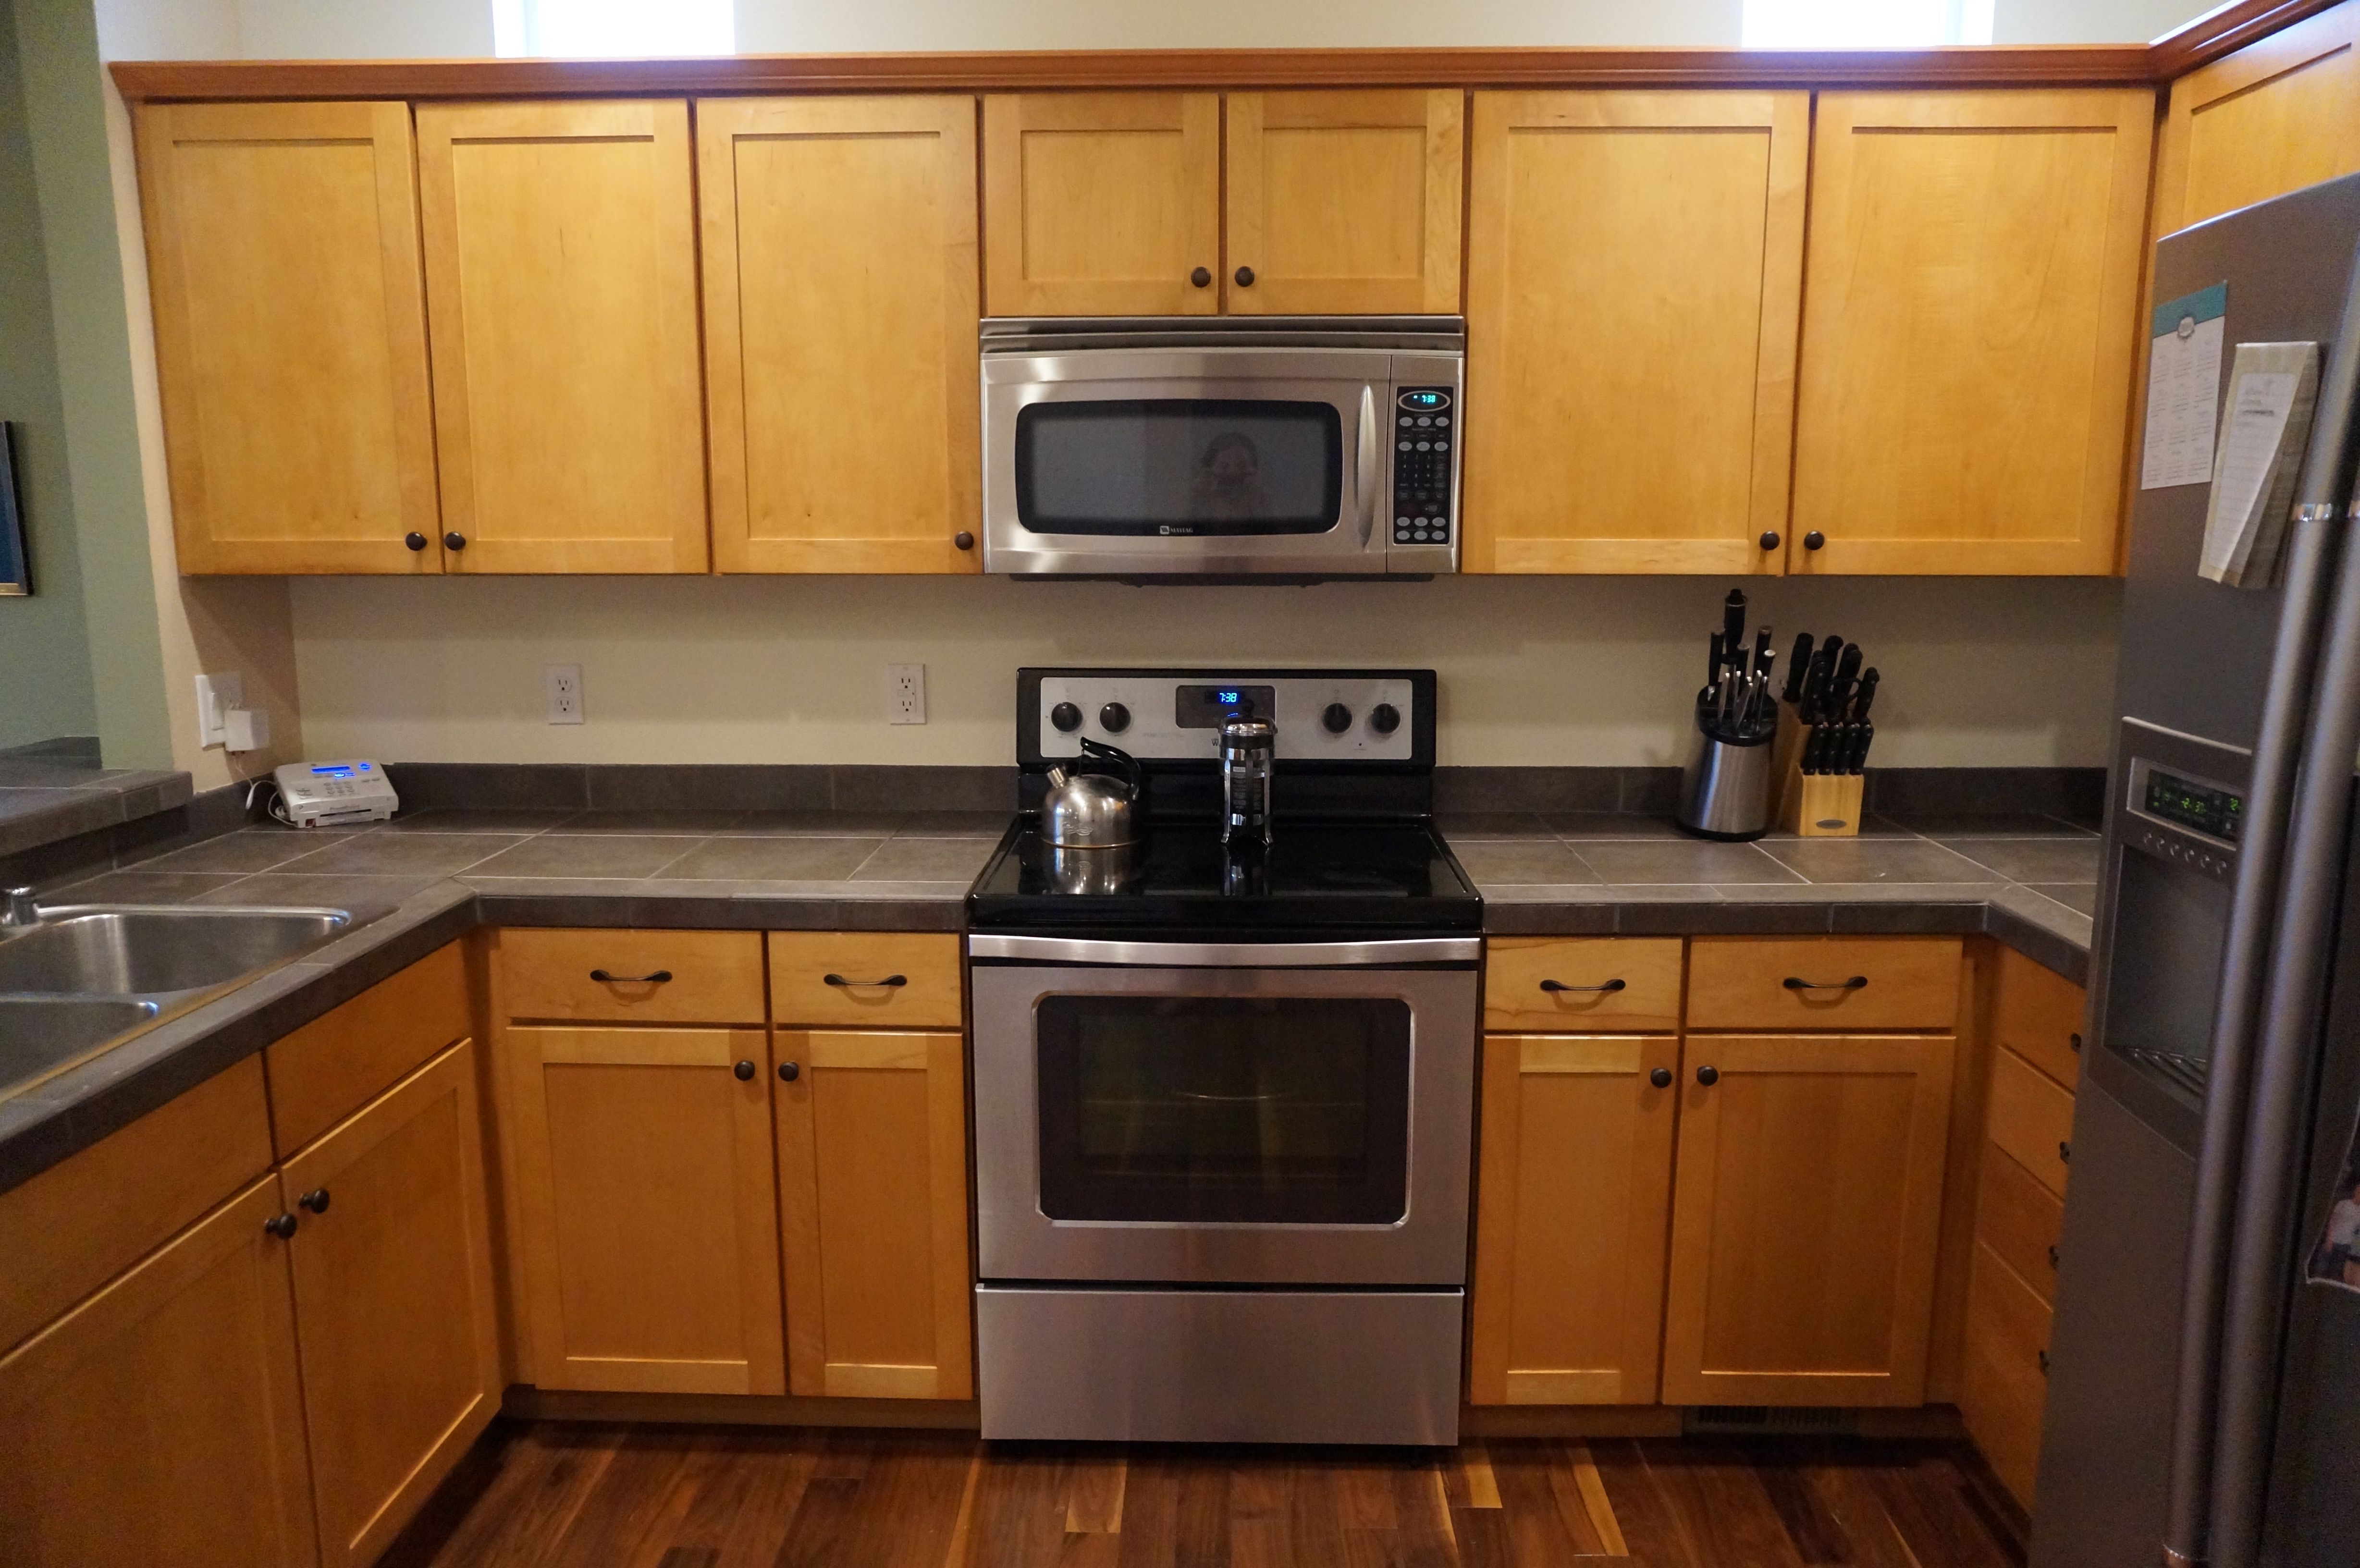
Before the remodel
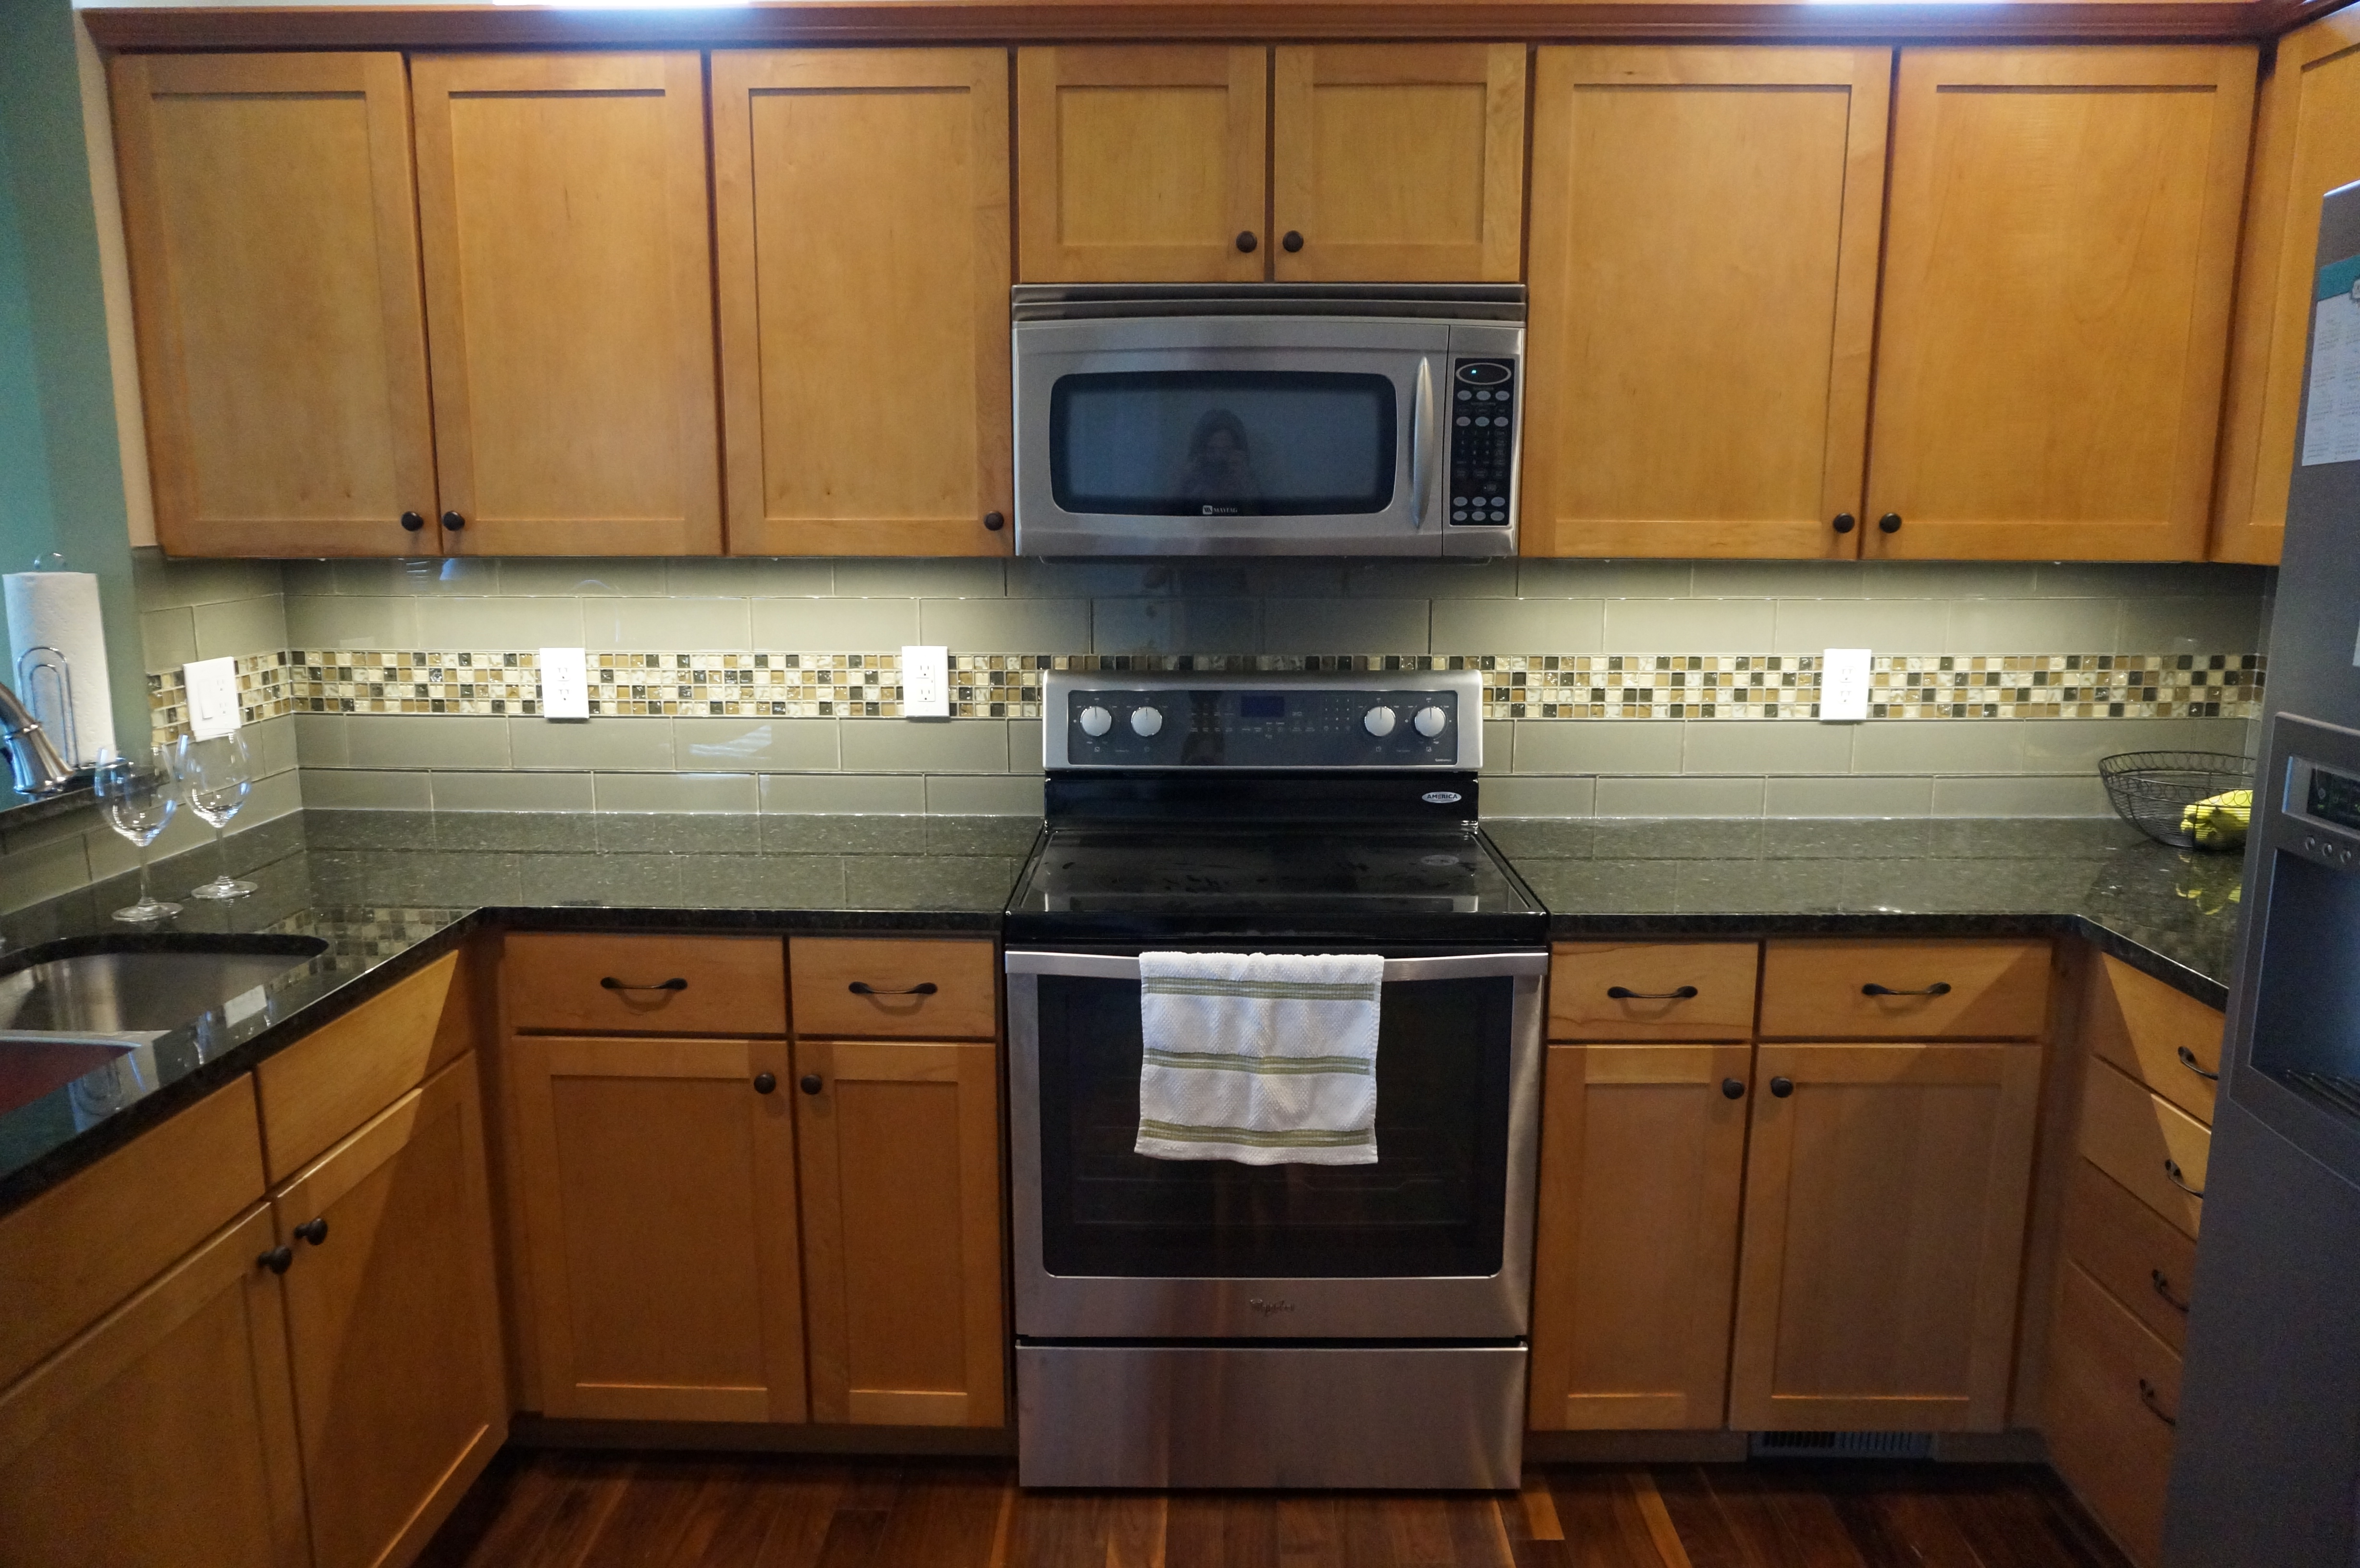
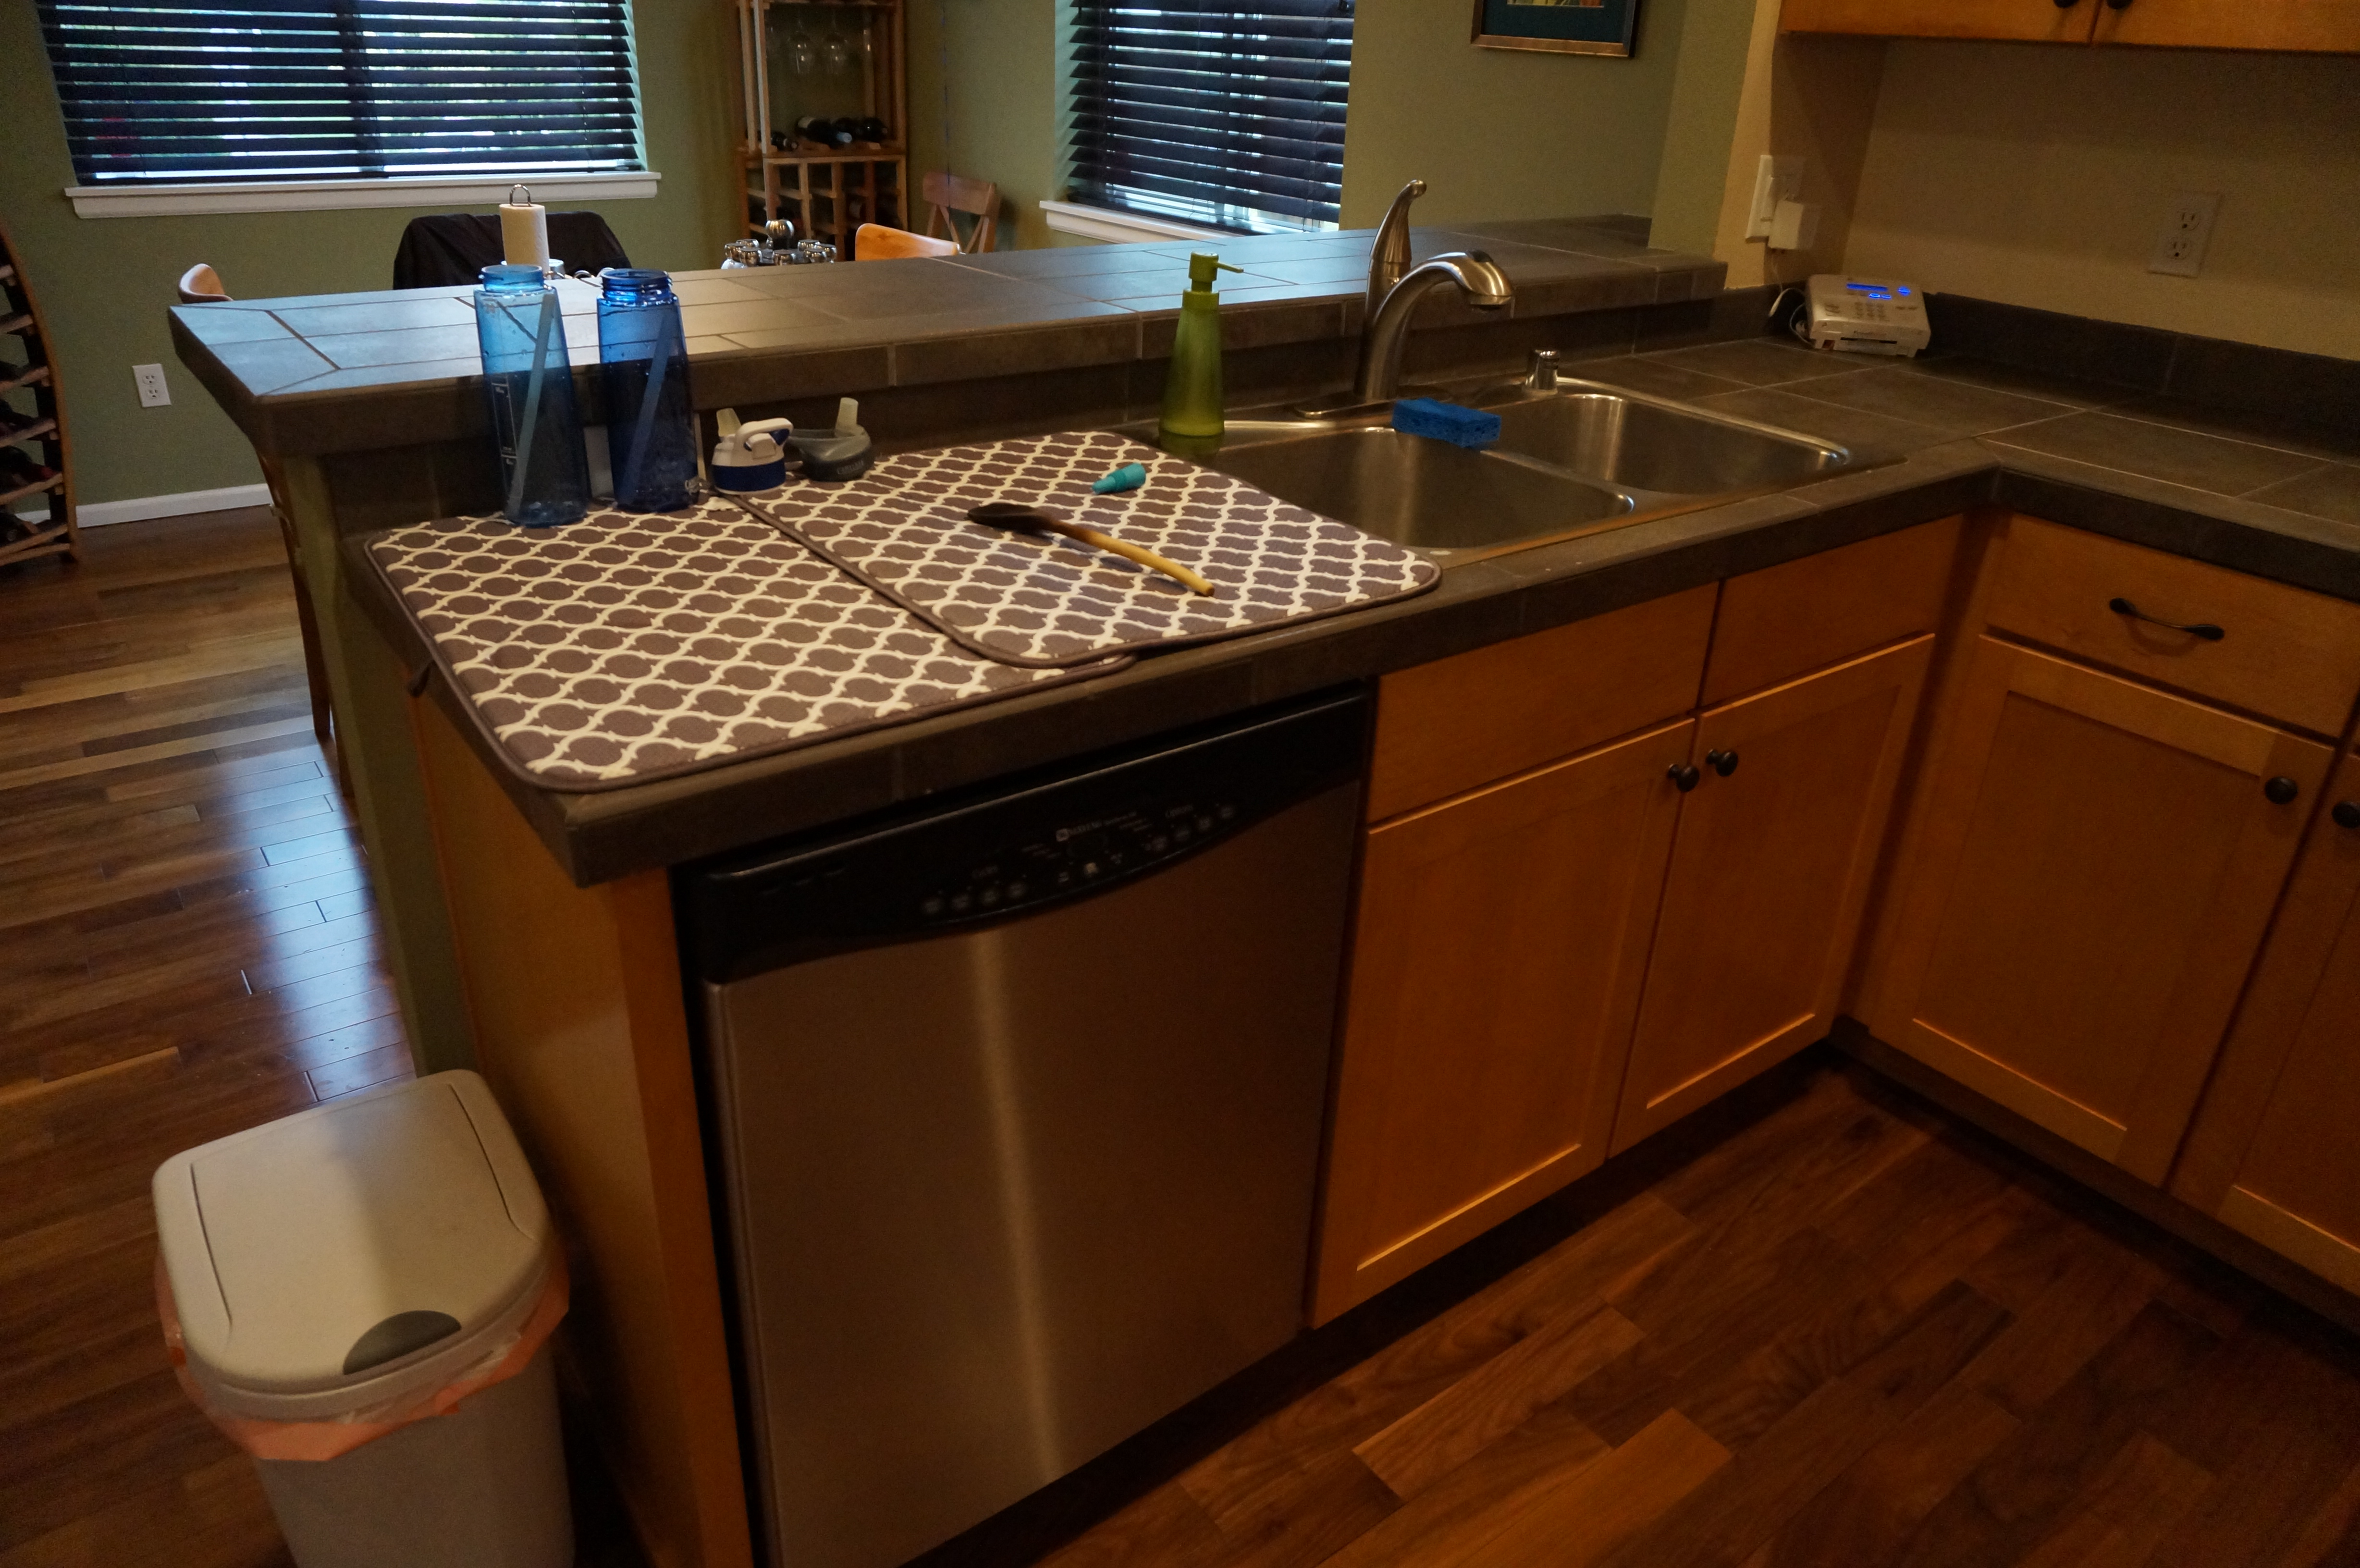
After the remodel (New countertops, backsplash, range, sink, faucet, lighting)
Ask questions – lots of them:
When you’re hiring a contractor, or anyone really, to work inside your home, you’ll want to make sure you’re hiring someone who is courteous, efficient, and ultimately, someone you can trust. Interview at least three contractors at your home and receive an estimate. Prepare for each meeting with a list of questions, and don’t be afraid to dig in to get more information. I found a number of good websites with important questions to ask a contractor, AND, don’t forget, to also ask their references/previous clients, since you’ll definitely be giving them a call, too:
- HowStuffWorks “10 Questions to Ask a Perspective Contractor”: Walks you through each question and the obvious red flags.
- Federal Trade Commission’s Guide to Hiring a Contractor: You know it’s serious when the government warns you of the risks.
Before!

After!
Have a vision:
There is no worse feeling than walking into a granite or tile warehouse and feeling completely overwhelmed at all of the options. (Trust me, my husband needed to lie down after our first trip.) Get ideas from the internet (Houzz and Pinterest are great places to start). Narrow down your color palette (and budget). Take home samples whenever possible. Take photos at the warehouse. If you have difficulty, ask your contractor if they work with a designer. We never would have found our tile without a design consultation.
Expect to get detailed…very detailed:
Do you want a straight or demi edge on the countertops? Where does the soap dispenser go in the relation to the faucet? What color grout? Do you want LED or halogen lights under the cabinets? These are all decisions we had to make that we never thought about in our original plan, but if you have a thorough contractor, he/she will bring them up and you’ll have to answer.

Before!
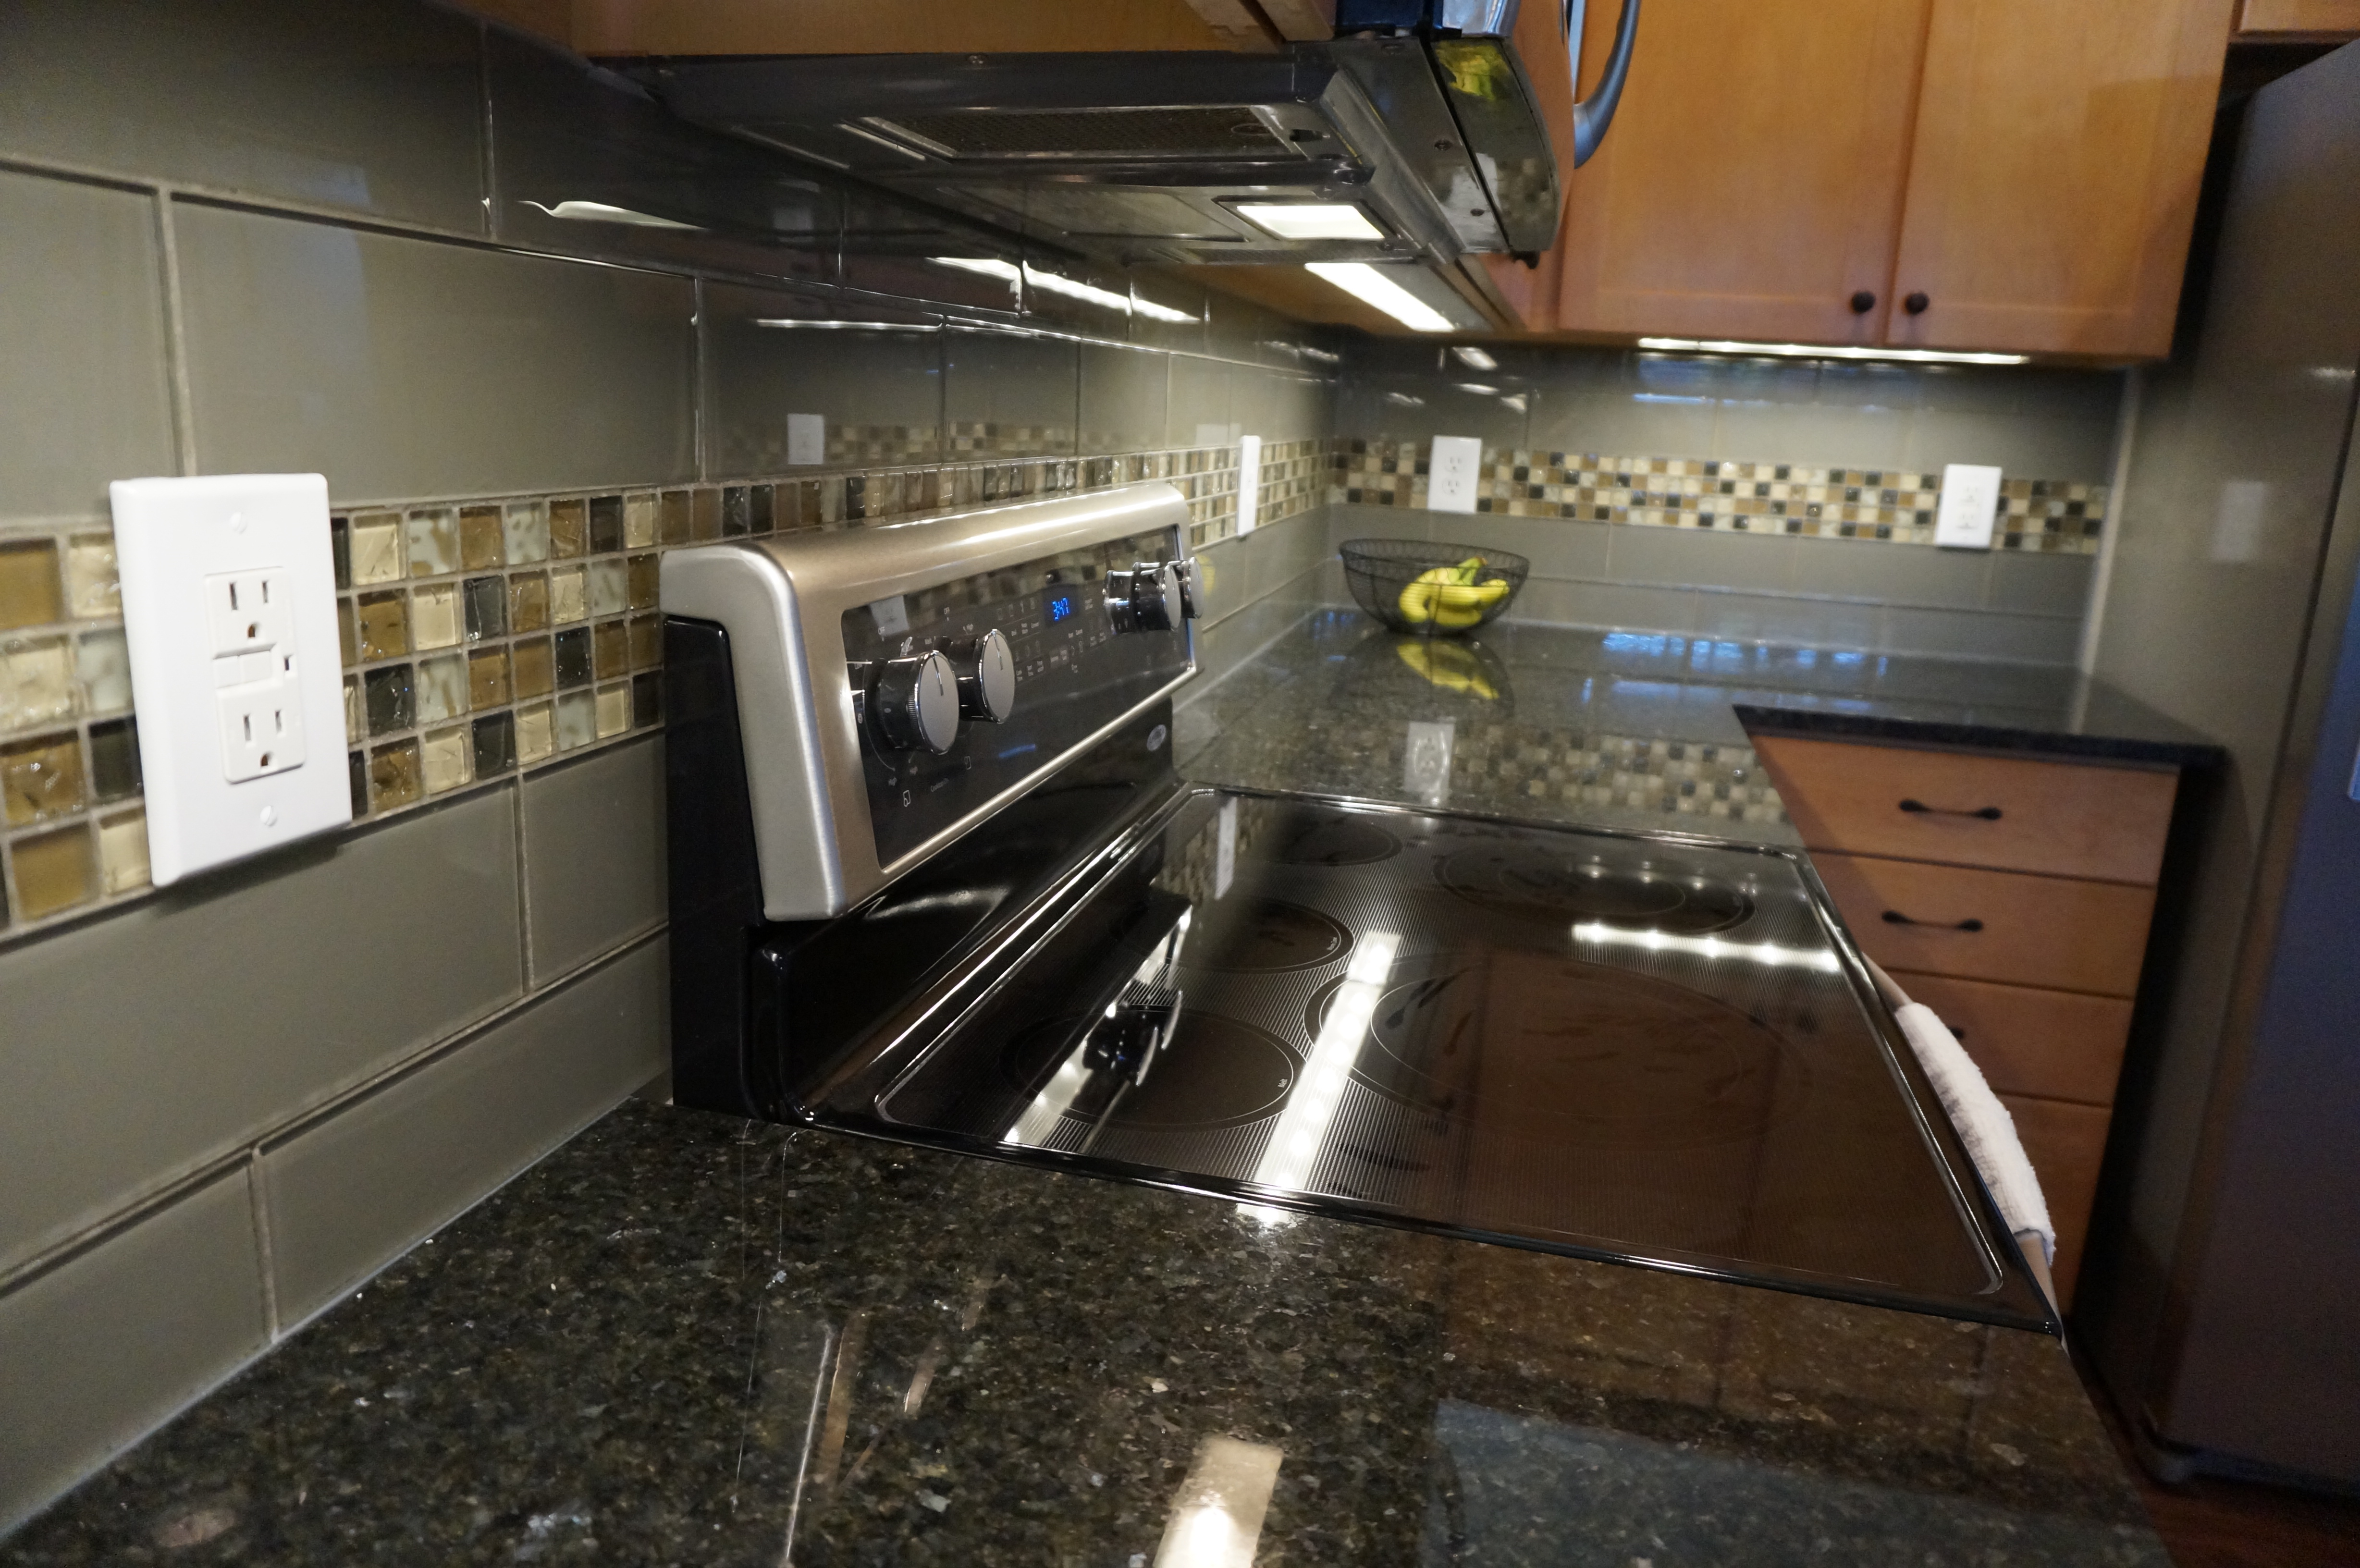
After!
Be prepared to “rough it”:
Depending on your remodel, you’ll probably be without some appliances, running water, or maybe just some countertop space, for a few days. We couldn’t use our kitchen for about four days, which meant stocking up on paper products, ordering pizza and eating out. Talk about a great excuse to try some new restaurants! Also, there will be major dust and debris, no matter how many drop cloths and plastic curtains are used. Learn to live, hopefully only briefly, with a little extra dirt.
Take before and after photos:
They’re great for the ol’ scrapbook, and to show your curious friends and family. You can even offer them to your contractor to use as a reference for future clients. It’ll also help put the whole remodeling process in perspective and you’ll appreciate your decision to remodel a whole lot more. Just think of remodeling like childbirth: you ultimately won’t remember the pain, you’ll just take pleasure in the resulting joy (and that sweet new kitchen smell).
I hope you found these tips helpful. Now please excuse me while I go hug my new countertops.